School-level feature — managed within your school portal at
yourschool.deandesk.com.How scheduling works
- Staff set availability — Teachers and admins create availability schedules that define when they can be booked, for how long, and under what rules.
- Clients book sessions — Anyone visits your school’s
/bookpage, picks a provider, chooses a time slot, and submits a booking request. Guests without an account can book too. - Providers confirm — New bookings start as Pending Confirmation. The provider (or an admin) confirms, cancels, completes, or marks them as no-shows.
- Emails keep everyone informed — Confirmation, cancellation, and reminder emails are sent automatically at each stage.
The Scheduling dashboard
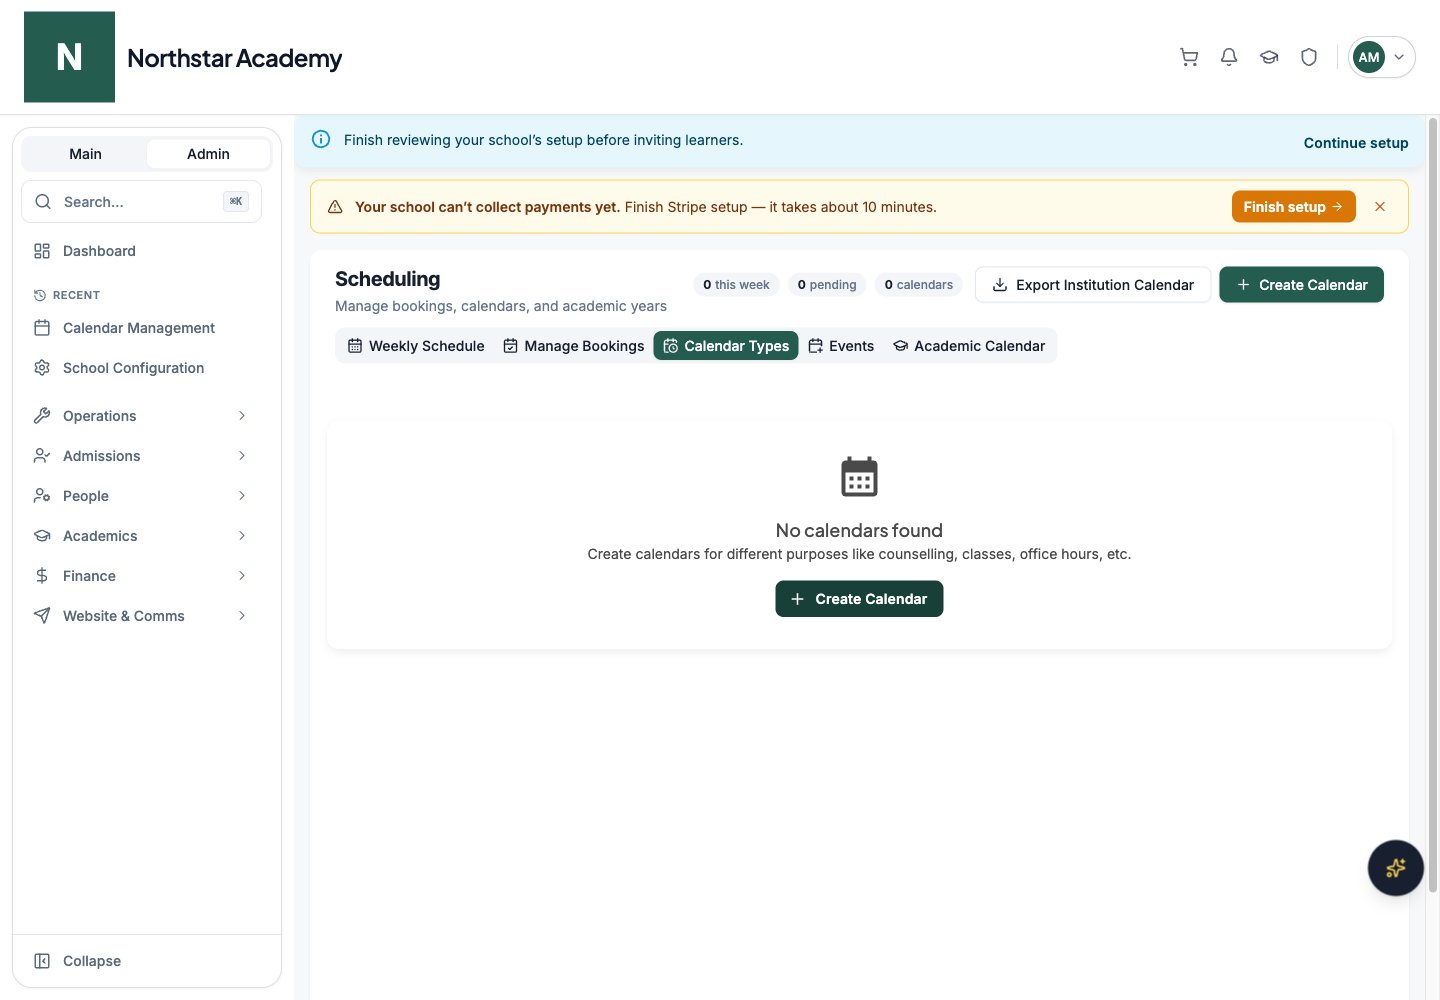
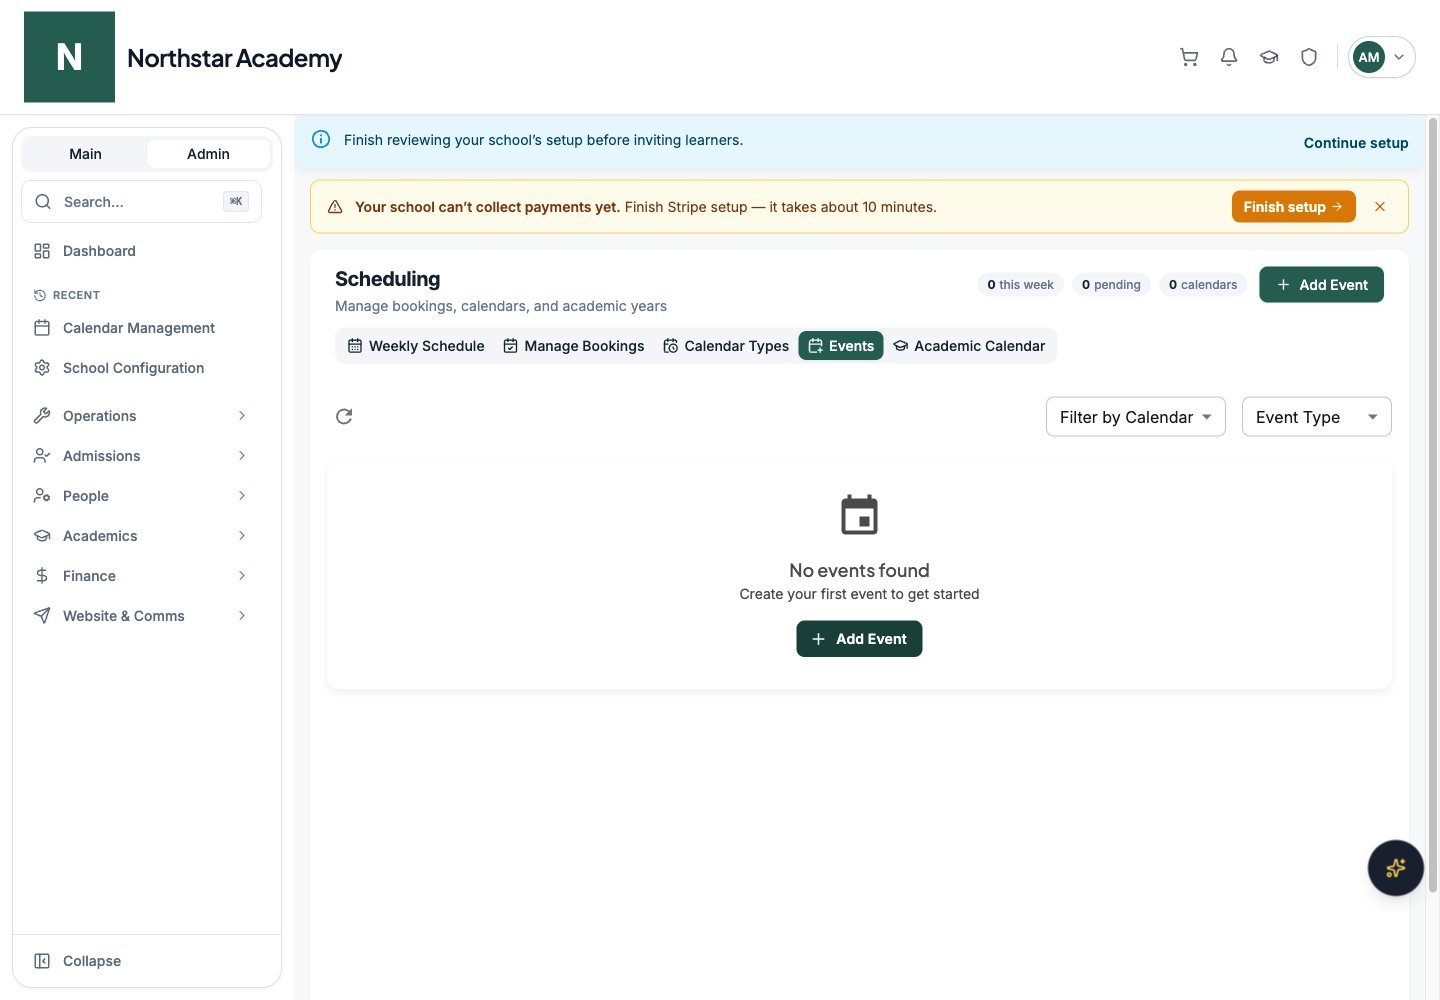
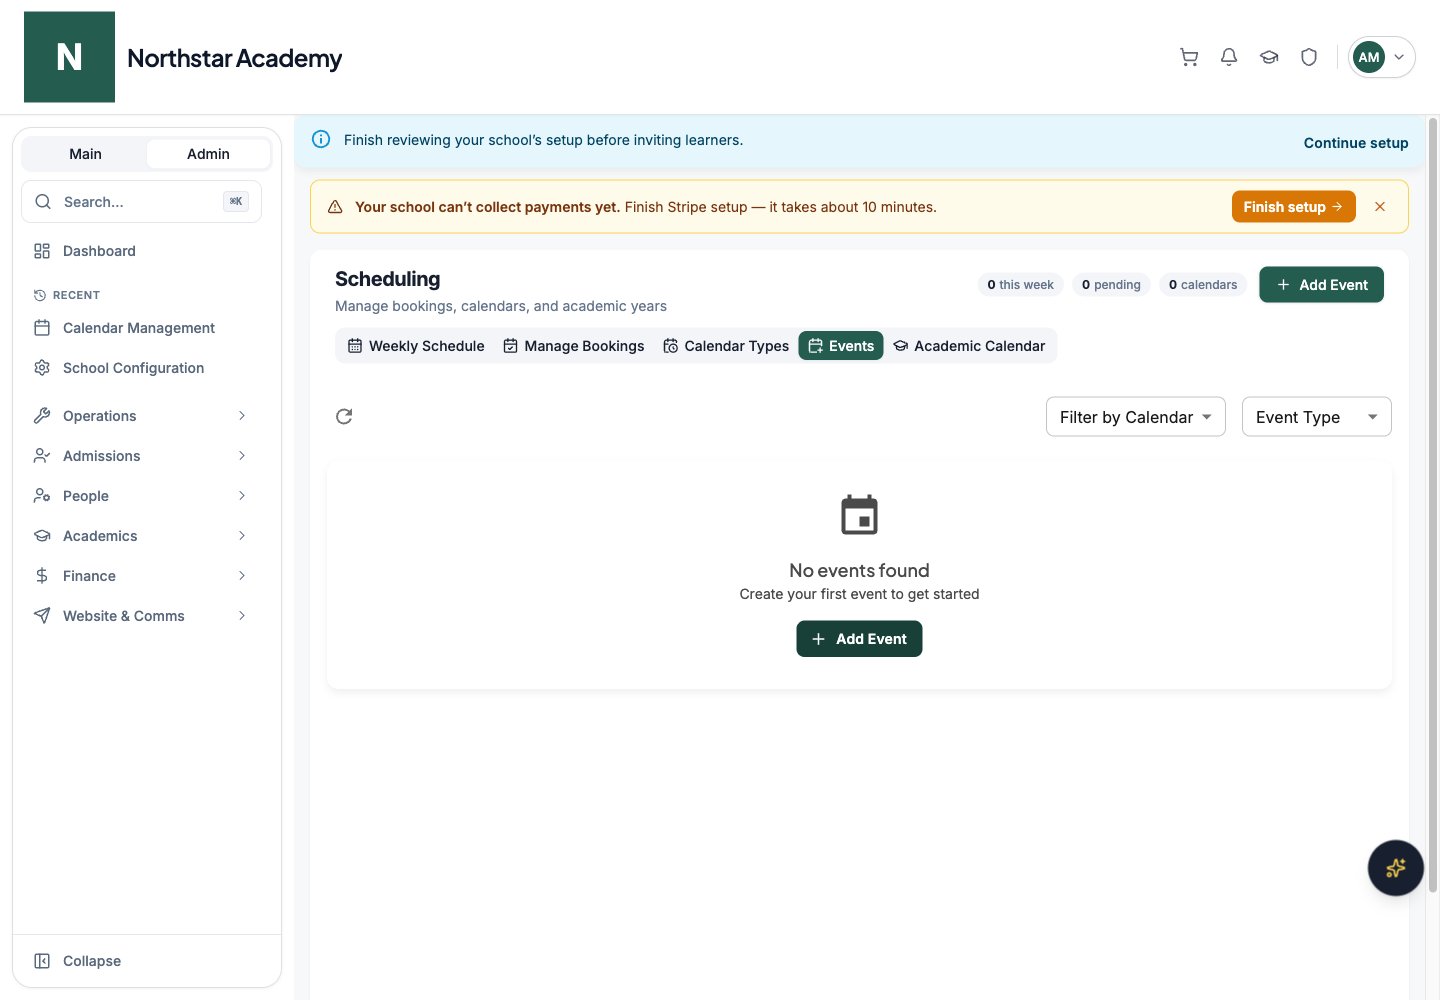
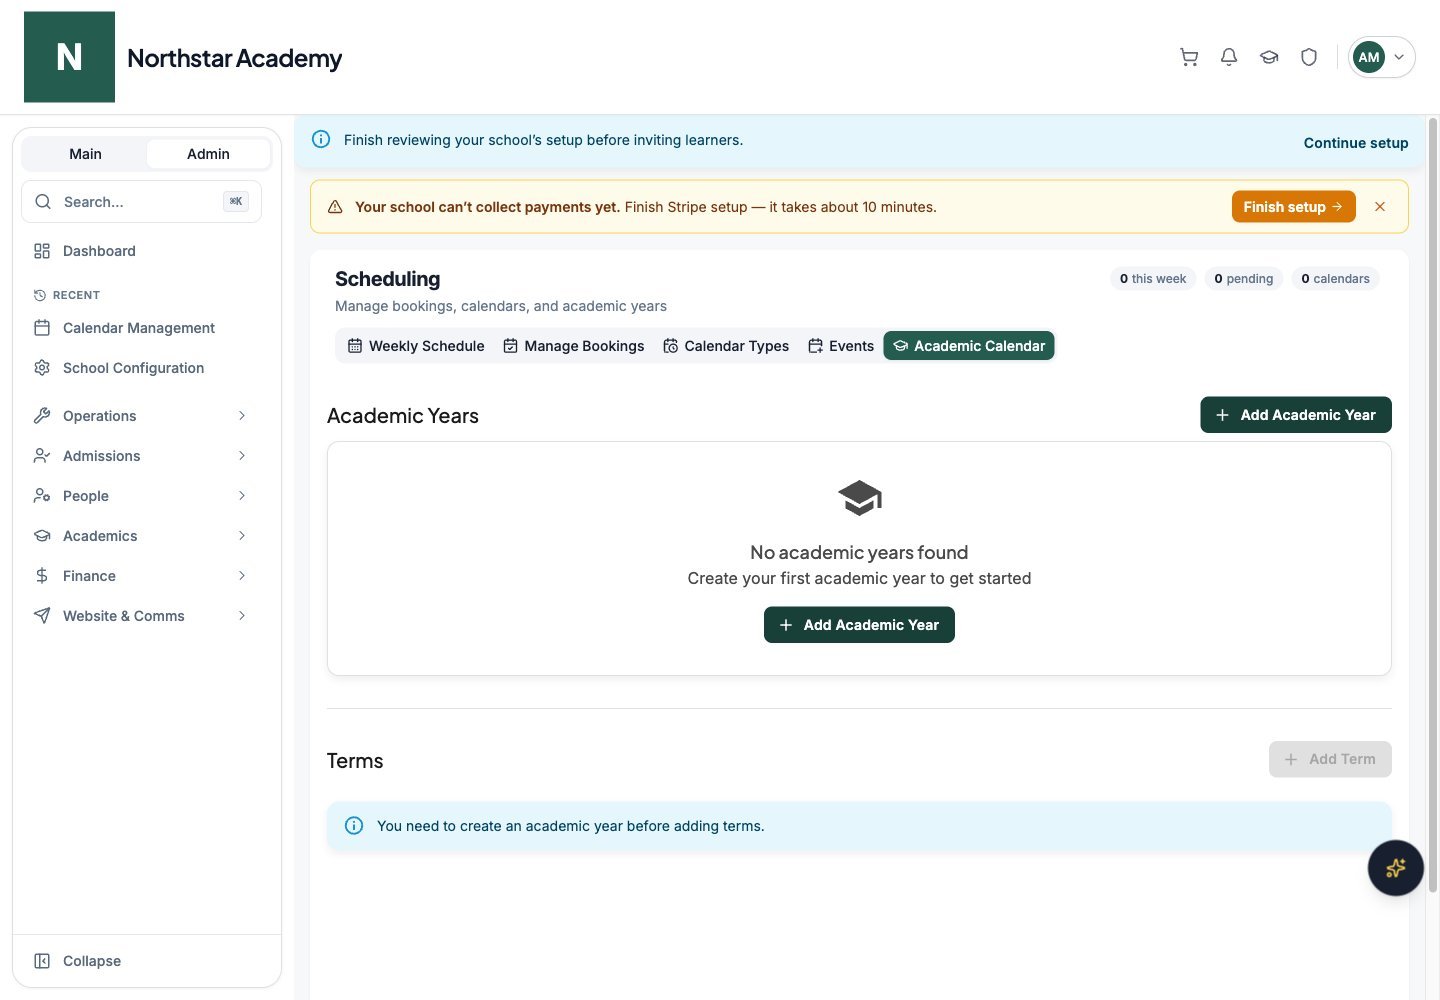
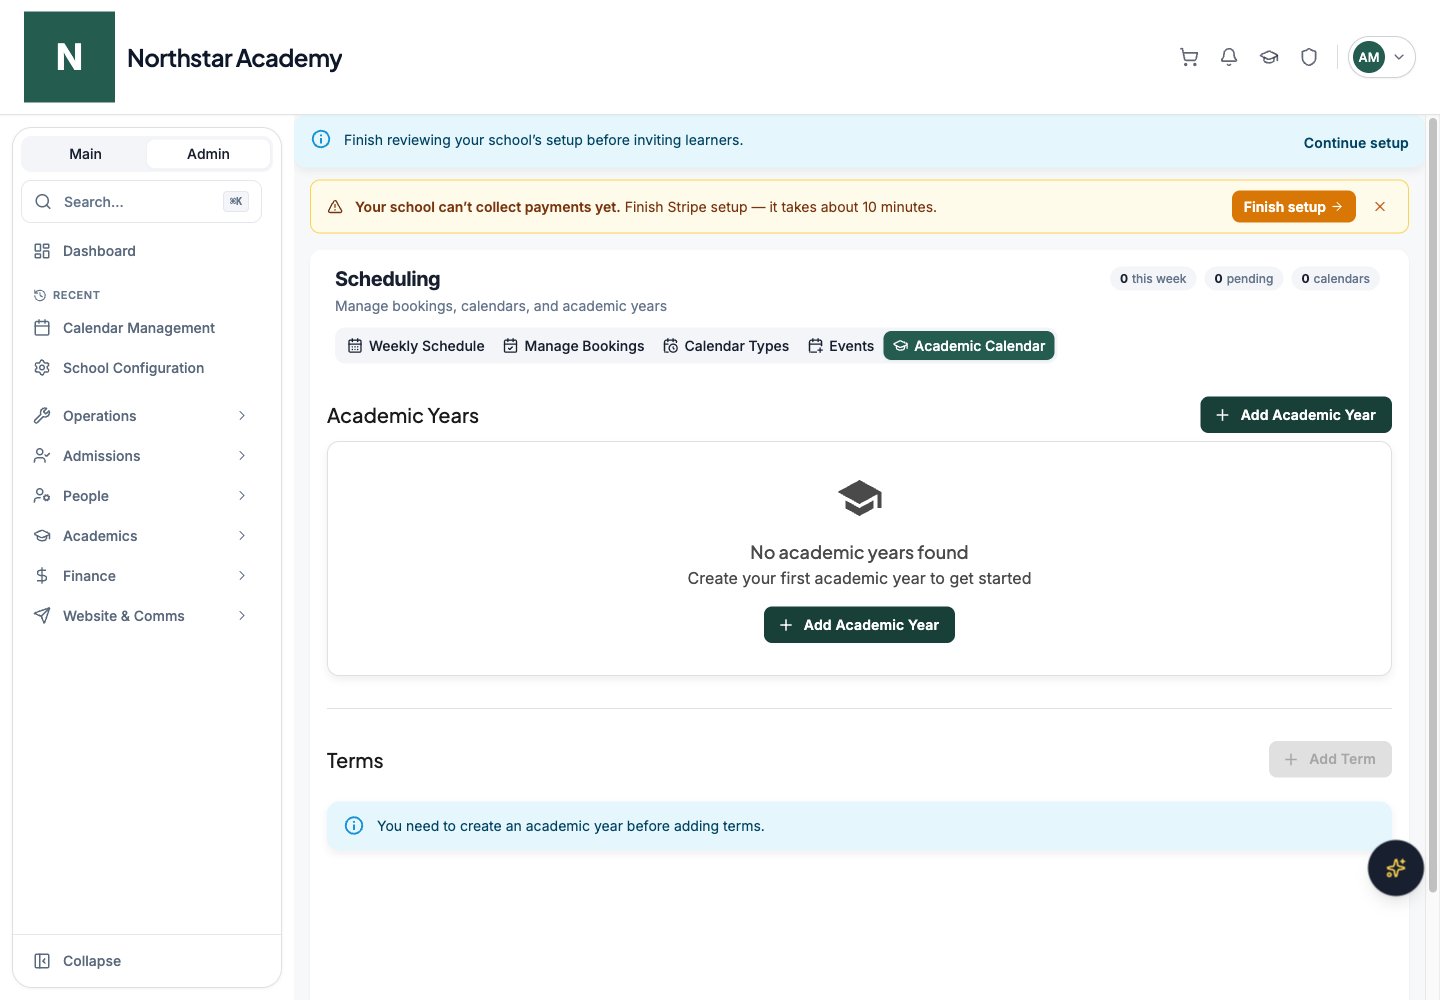
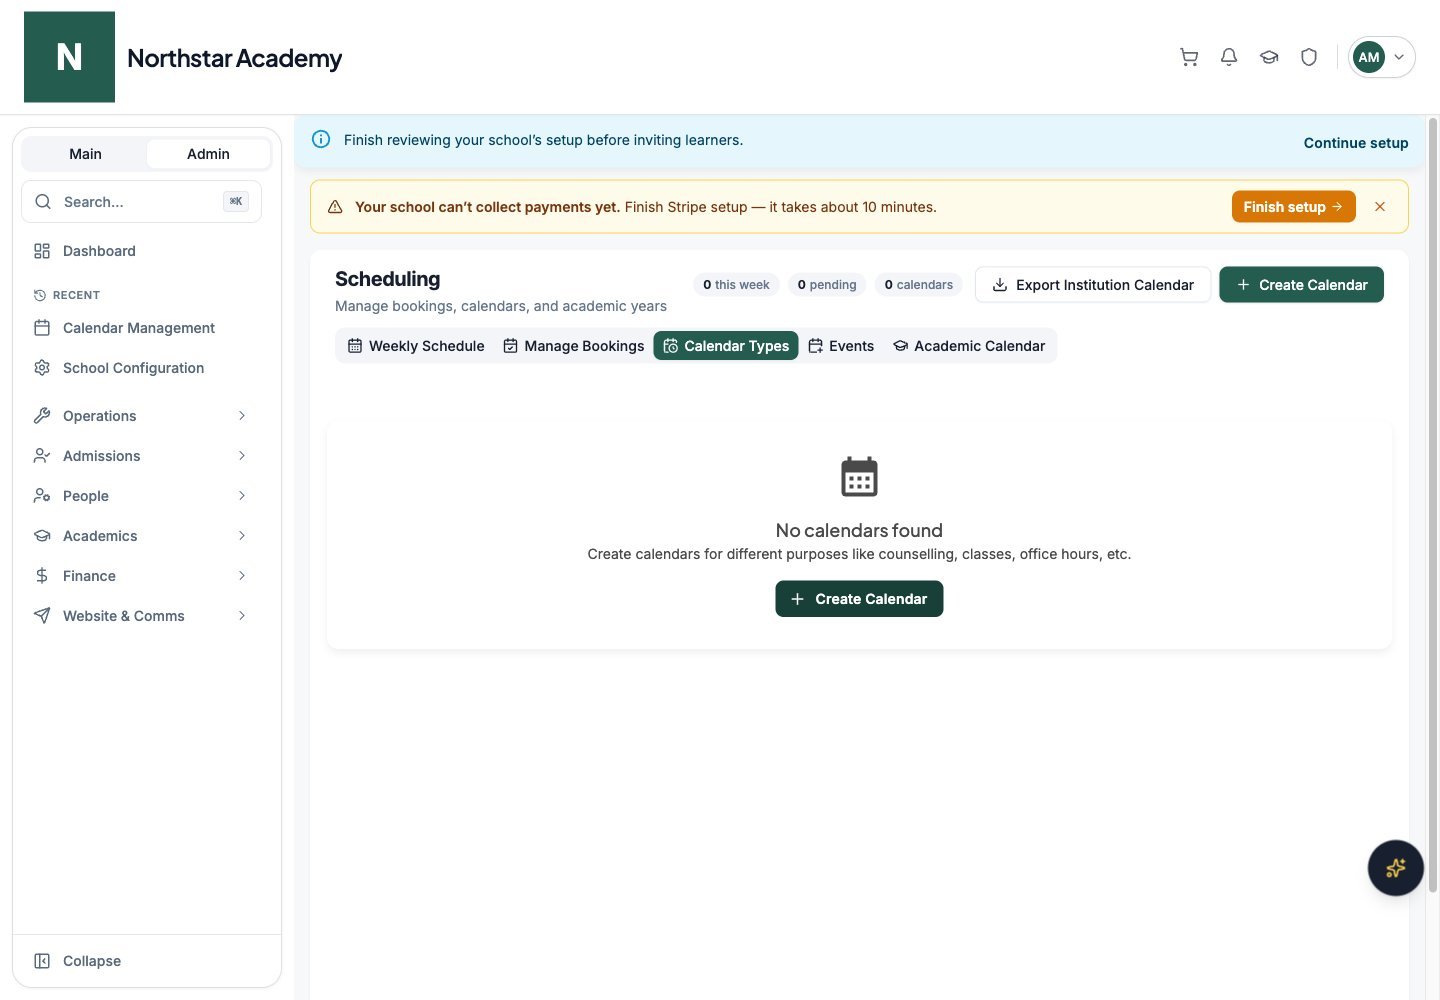
Go to Admin Dashboard → Scheduling (in the Operations section). The page header shows quick stats — bookings this week, pending confirmations, and active calendars — and five tabs:The Events and Academic Calendar tabs embed the Calendar Management tools so you can reach them without leaving the Scheduling dashboard. They are documented on the Academic calendar page.
Weekly Schedule
The Weekly Schedule tab shows every booking for the current week in a day-by-day grid, alongside availability blocks and calendar events. Use the arrows next to the week range to move between weeks. Two filters narrow the view:- Filter by Staff — show a single provider’s schedule, or all staff members.
- Filter by Calendar — overlay events from one or more of your shared calendars.
Manage Bookings
This tab lets an admin work with any staff member’s bookings.1
Pick a staff member
Use the Select Staff Member dropdown. The list includes all teachers and admins.
2
Choose a view
Switch between the Bookings and Availabilities views.
3
Work the booking queue
The Bookings view has four tabs: Upcoming, Pending Confirmation, Confirmed, and Past. Open a booking’s action menu to View Details, Confirm Booking, Cancel Booking, Mark as Completed, or Mark as No-Show.
Calendar Types
Shared calendars group related events and can be published to your community or exported to external calendar apps. Click Create Calendar to add one:- Calendar Name — for example,
Academic CalendarorCounselling Sessions. - Calendar Type — Public Calendar, Counselling, Class Calendar, Office Hours, Administrative, or Custom.
- Color and Description.
For calendars with export enabled, use Copy Export URL to get a subscription link for Google Calendar, Apple Calendar, or Outlook, or Download iCal for a one-time file. The Export Institution Calendar header button exports events across calendars for a date range you choose.
Provider availability
Staff members control their own bookable hours from Profile → My Availability (/profile/availability). This page appears in the profile sidebar under Bookings for teachers and admins. Staff also get a Manage Bookings entry there (/profile/bookings) to confirm and manage their own sessions.
1
Create an availability schedule
Click Create Availability. Give it a Title, pick a Type (Counselling, Office Hours, Tutoring, General, or Custom), and optionally set a color and description. You can limit the schedule to a date range with Effective From and Effective Until.
2
Add weekly hours
Add one or more weekly schedule entries — each with a Day, Start, and End time. Toggle Online to attach a Meeting Link (for example, a Zoom URL), or leave it off and enter a physical Location instead.
3
Configure session settings
- Session Duration — the length of each bookable slot, in minutes.
- Buffer Before / Buffer After — padding between sessions.
- Session Price — leave empty or
0for free sessions; see Paid sessions. - Max Bookings/Day — cap daily bookings, or leave blank for unlimited.
4
Set booking restrictions
- Min Advance Booking — clients must book at least this many minutes ahead.
- Max Advance Booking — how far into the future clients can book (1 week to 90 days).
5
Optionally check calendars for conflicts
Under Calendar Integration, enable Check Google Calendar and/or Check Internal Calendar to automatically block slots that conflict with existing events.
6
Publish
Under Visibility & Status, turn on Public so anyone can book this availability, and keep Active on. Inactive availabilities stop accepting new bookings without deleting history.
The public booking page
Anyone can book a session atyourschool.deandesk.com/book. A provider-specific link (from the Copy Link button) skips straight to that provider. The page walks the client through four steps: Select Provider, Choose Time, Your Details, and Confirm.
- Select Provider — lists every staff member with a public, active availability.
- Choose Time — shows open slots based on the provider’s weekly hours, buffers, restrictions, and calendar conflicts.
- Your Details — logged-in users are recognized automatically. Guests enter Email, First Name, Last Name, an optional Phone, and optional notes for the session.
- Confirm — a summary of the provider, date, time, and location. Clicking Confirm Booking submits the request.
Guest booking
Visitors without an account can book:- New visitors get an account created for them automatically. They receive an email with their login details so they can manage the booking later.
- Visitors whose email matches an existing account are asked to verify ownership: a one-time confirmation code is emailed to them (valid for 15 minutes) and must be entered to complete the booking.
- Paid sessions require guests to add a card during booking; logged-in users use their saved payment method.
Members: My Bookings
Logged-in users see their sessions at My Bookings (/my-bookings), with Upcoming, Past, and Cancelled tabs. They can cancel an upcoming booking and provide a cancellation reason. An Upcoming Bookings widget on the Dashboard also surfaces their next sessions.
Booking lifecycle
Every booking moves through these statuses:
Providers and admins act on bookings from the Scheduling dashboard’s Manage Bookings tab or the staff Manage Bookings profile page: Confirm Booking, Cancel Booking, Mark as Completed, and Mark as No-Show.
Paid sessions
If an availability has a Session Price, the client is not charged when booking. Instead, the fee is charged to the client’s saved default payment method when the session is marked complete — the completion dialog offers Complete & Charge. Stripe must be connected for paid sessions; see Payments setup.Booking emails
DeanDesk sends automatic emails throughout the booking lifecycle:
All of these are part of the customizable system email library — you can edit their wording, subject lines, and styling at Admin Dashboard → System Email Library. See System emails.
Next steps
Academic calendar
Set up academic years, terms, and school-wide events.
Payments setup
Connect Stripe to charge for paid sessions.