

This guide covers institution-level account management at
deandesk.com. For school-level user accounts, see Add users.Video walkthrough
This walkthrough uses the real DeanDesk interface with the fictional Northstar Academy demo school and a calm, AI-generated English voice. Payments and outside services are not connected in the demo.
Identity list
Open Identities in the institution dashboard sidebar to see every identity in your institution. The list is a full-featured directory with backend-driven search, role filters, and customizable columns.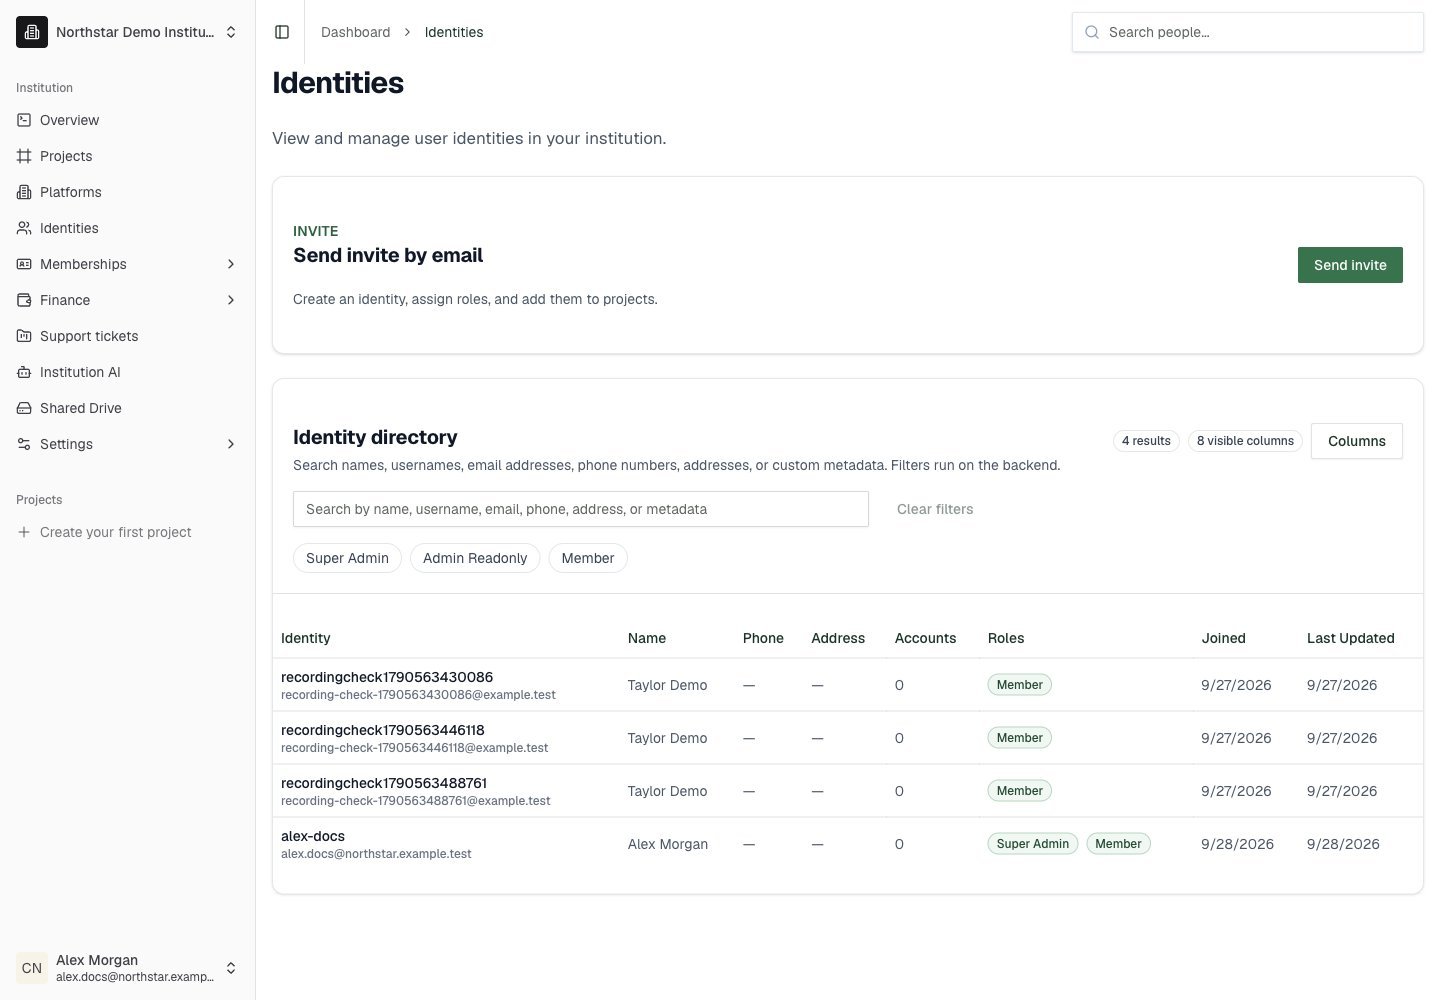
Northstar demo — Identities
Search
The search bar at the top of the directory matches against name, username, email, phone, address, and any custom metadata fields. Results update as you type.Role filters
Use the Role chips above the table to filter by one or more institution roles. Selecting multiple chips returns identities that match any of the selected roles.Customizable columns
The Columns dropdown lets you toggle which fields appear as table columns. You can show standard fields (name, email, phone, joined date) plus any custom metadata field configured under Settings → Metadata.Identity detail page
Click any identity to open their detail page. The header shows the person’s name, roles, and email, plus:- Create linked case — opens a new support ticket pre-filled with this identity’s name and email (see Support tickets)
- Metric cards — Institution Paid, School Paid, Linked Accounts, and History Depth
Identity detail tabs
Overview tab
Profile Snapshot shows the Identity’s username, email, phone, address, sign-in method, and dates. AI Snapshot shows a generated summary (see AI Snapshot).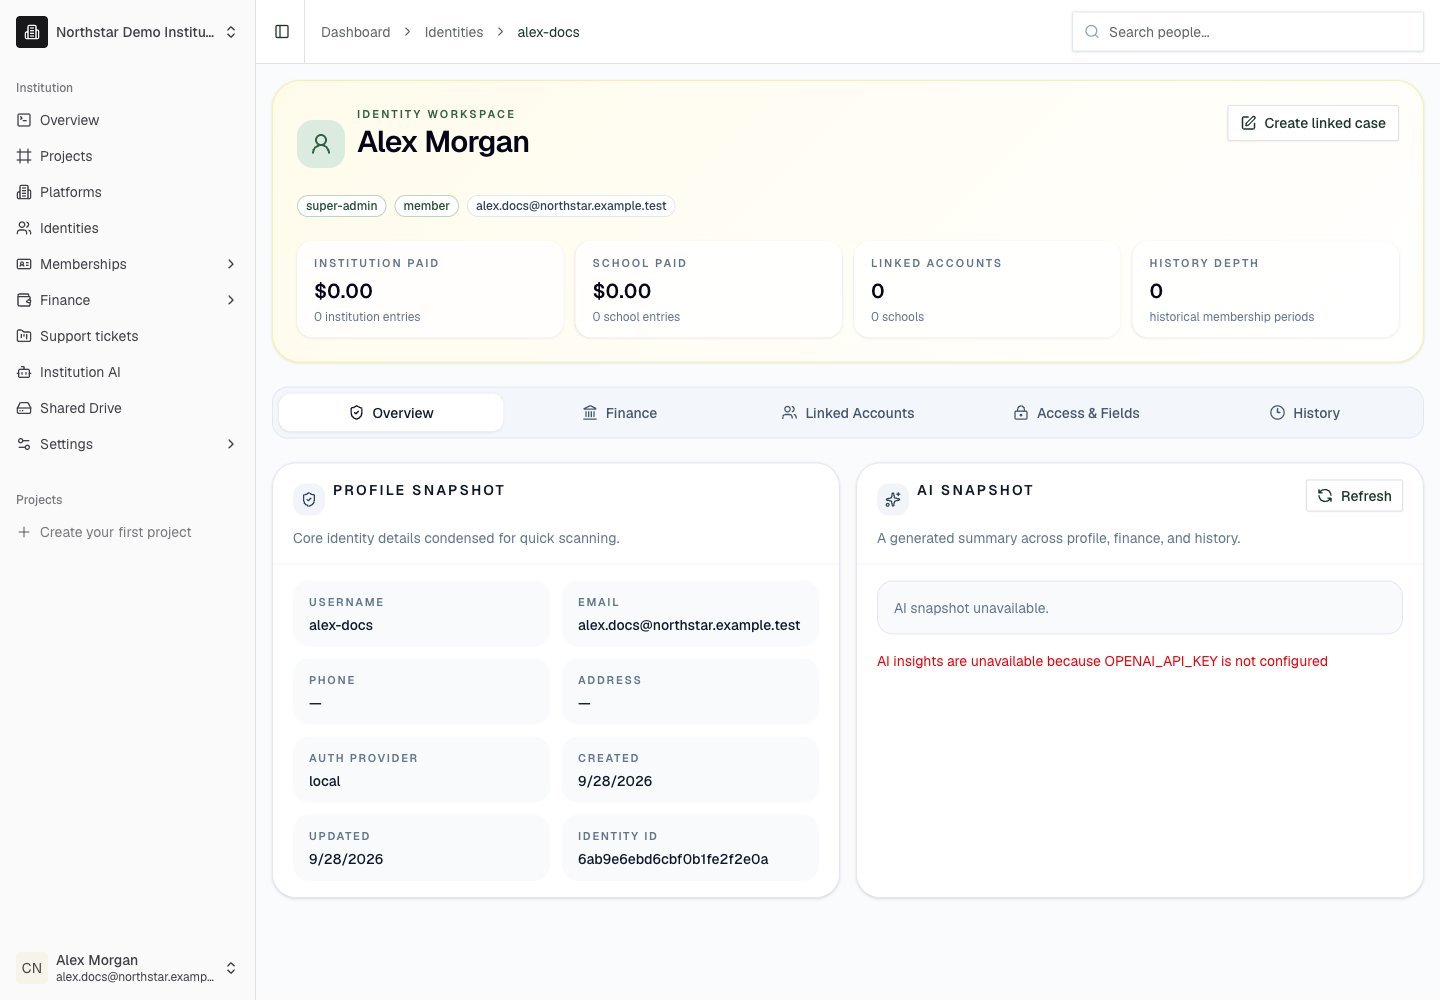
Northstar demo — Identity detail — Overview
Finance tab
Institution Finance lists membership records and institution-level payments. School Finance lists orders, purchases, and invoices across the person’s linked schools.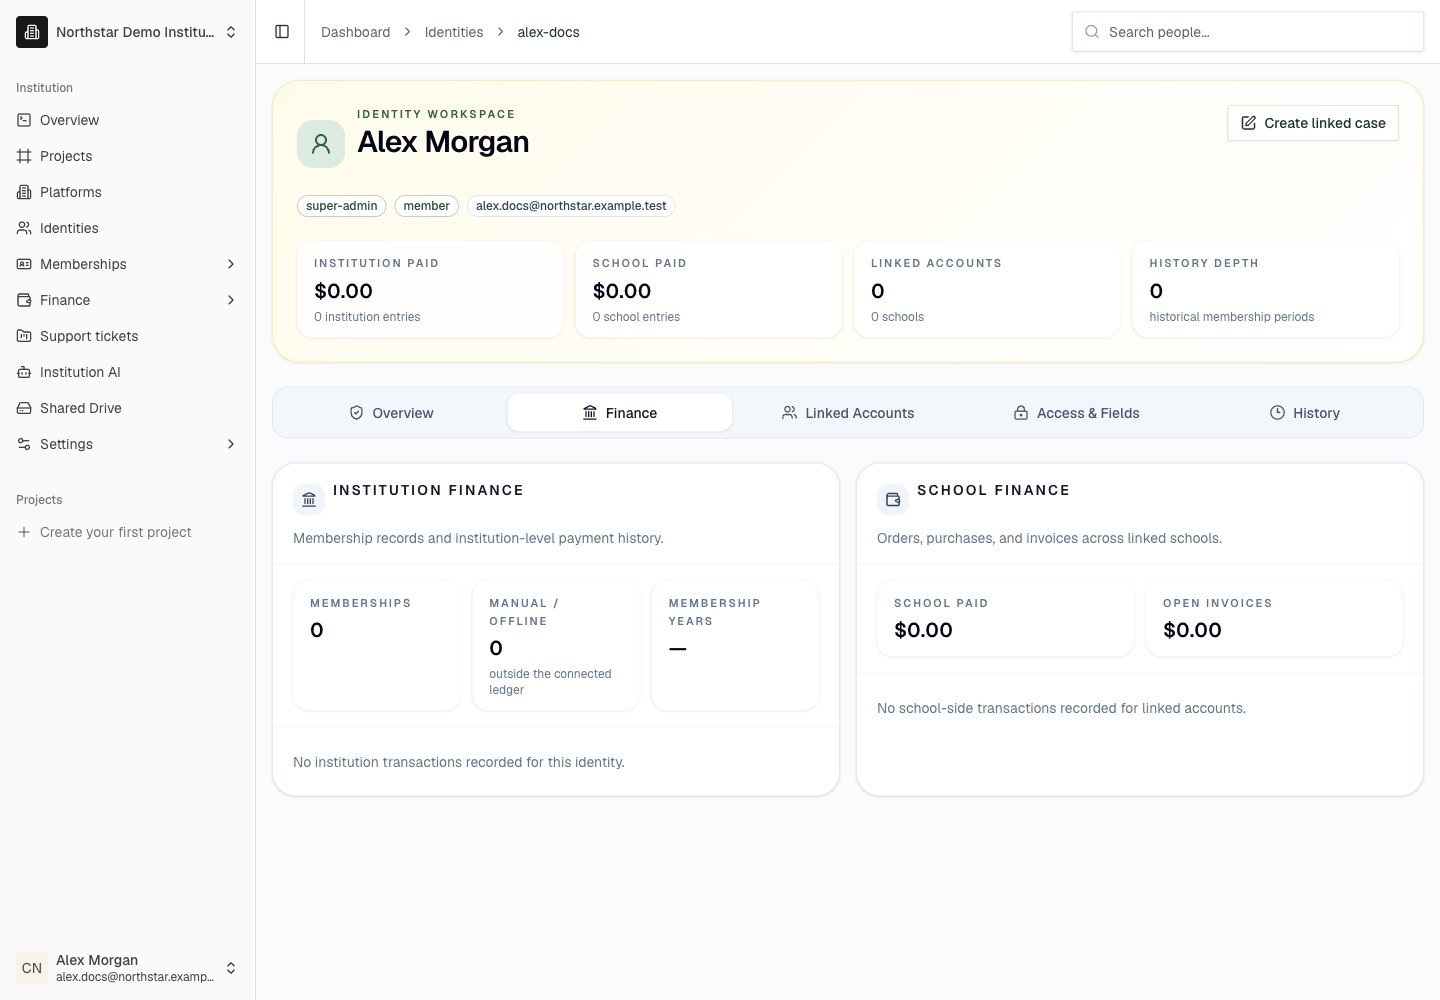
Northstar demo — Identity detail — Finance
Linked Accounts tab
Linked School Accounts lists the school Users connected to this Identity. Open the appropriate school account for school administration.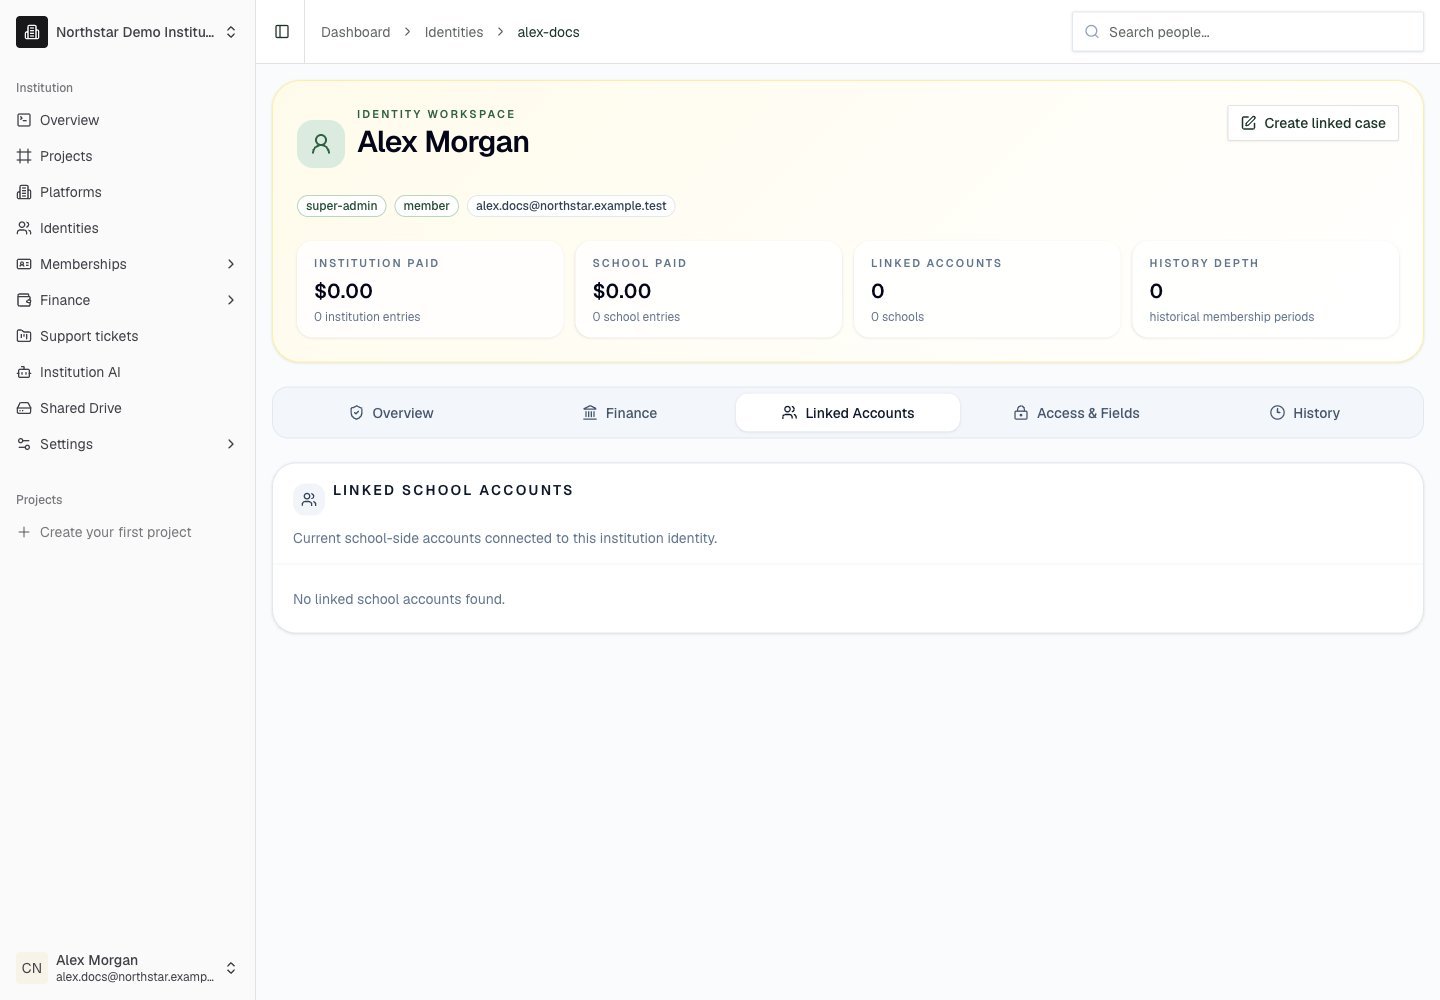
Northstar demo — Identity detail — Linked Accounts
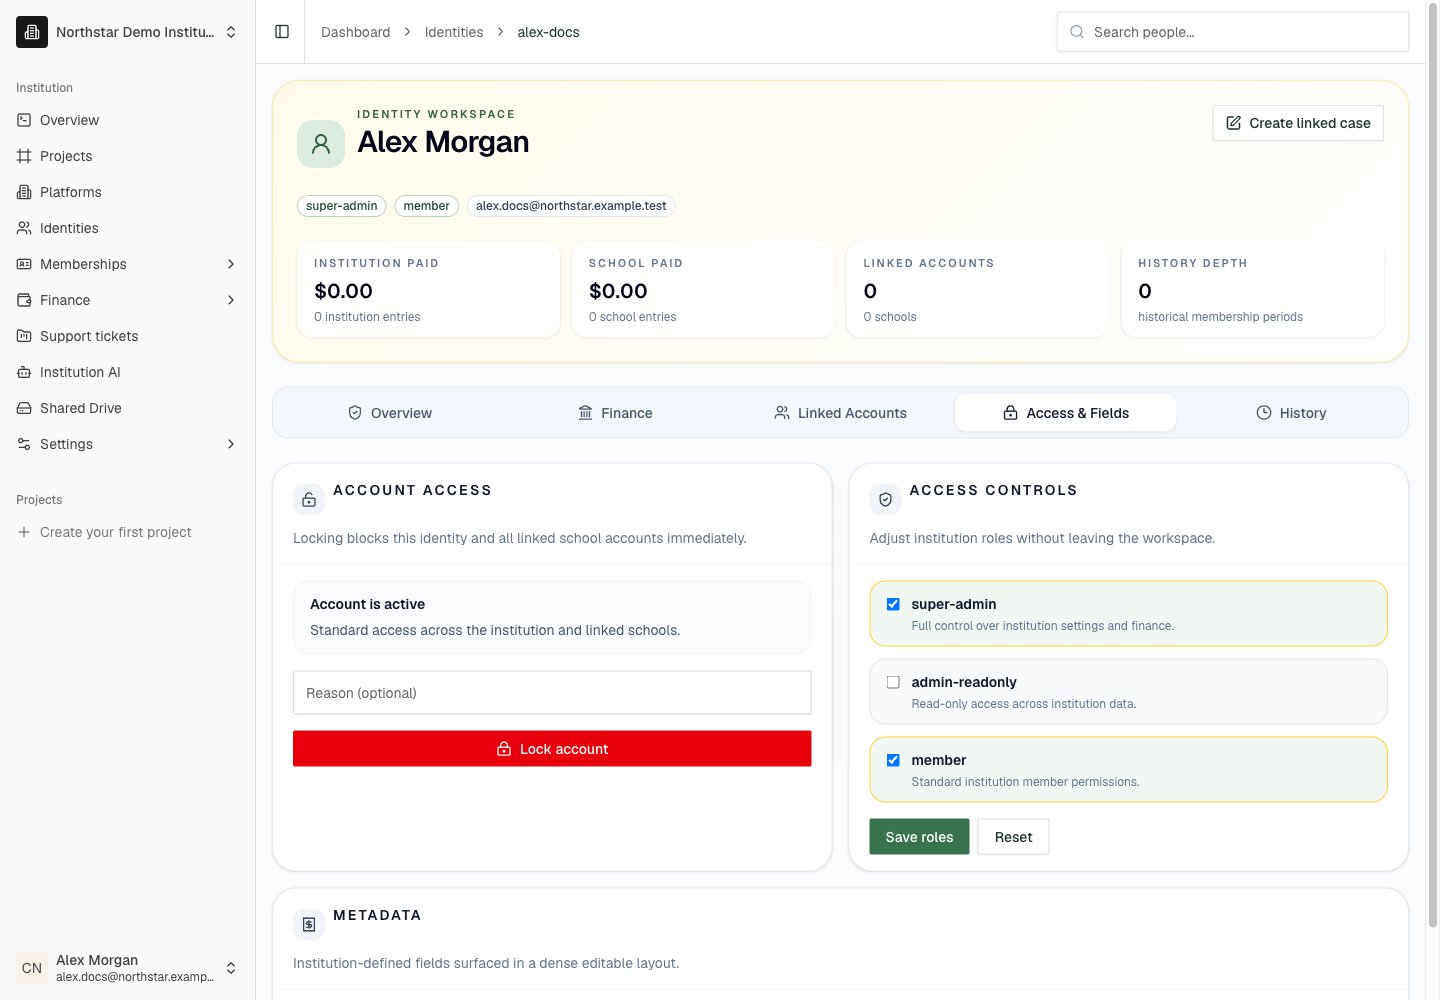
Access & Fields tab
Account Access locks or unlocks the account. Access Controls changes institution roles; click Save roles to apply or Reset to discard. Metadata shows the custom Identity fields.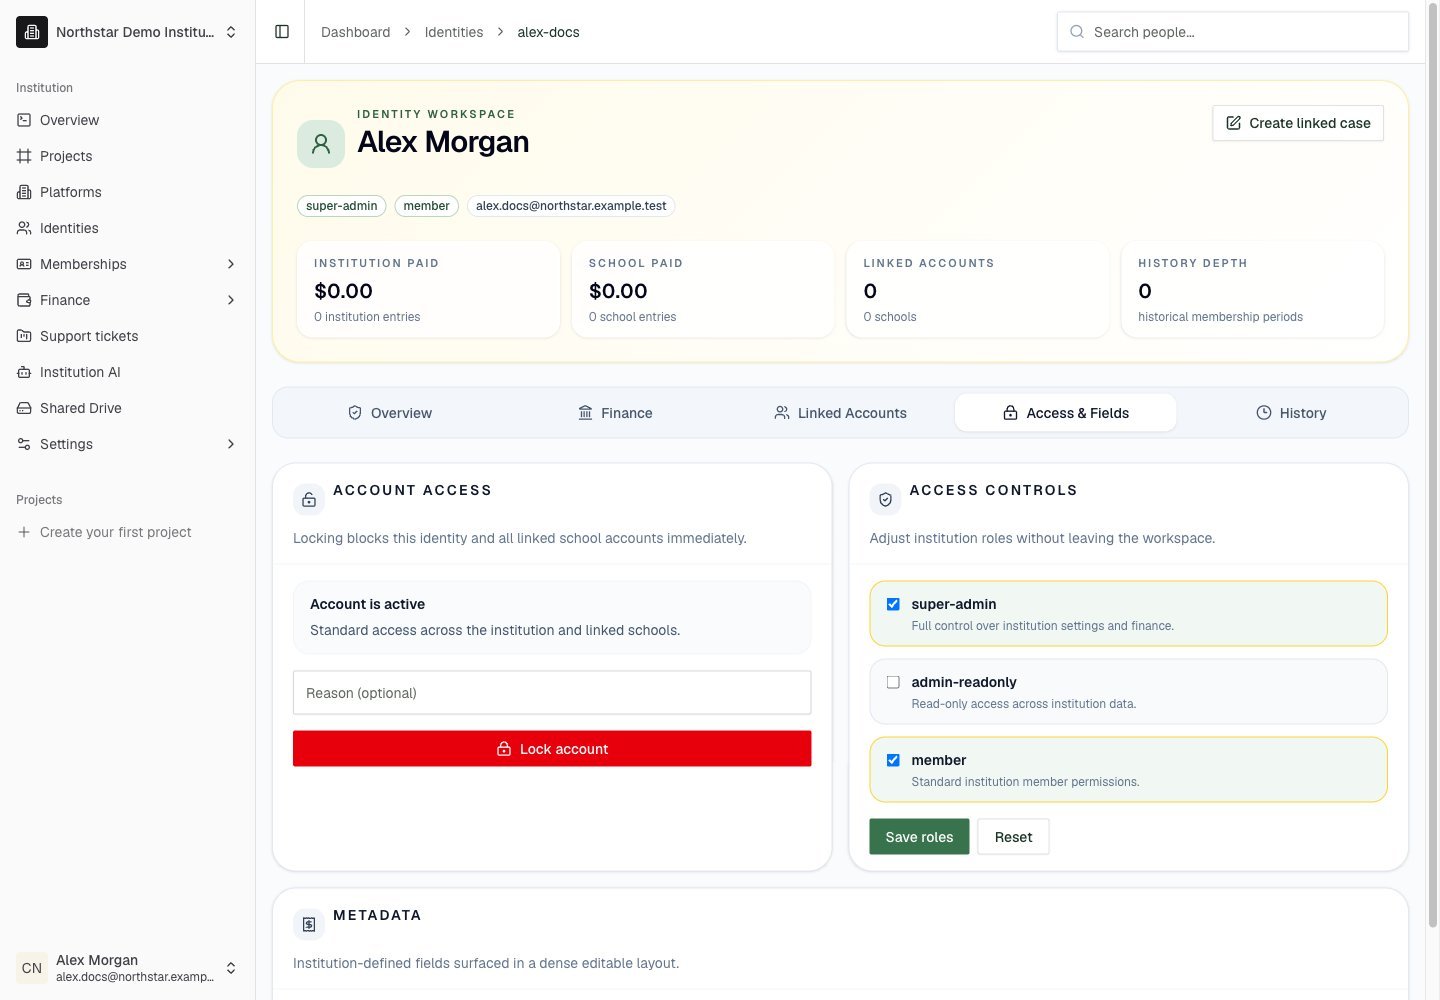
Northstar demo — Identity detail — Access & Fields
History tab
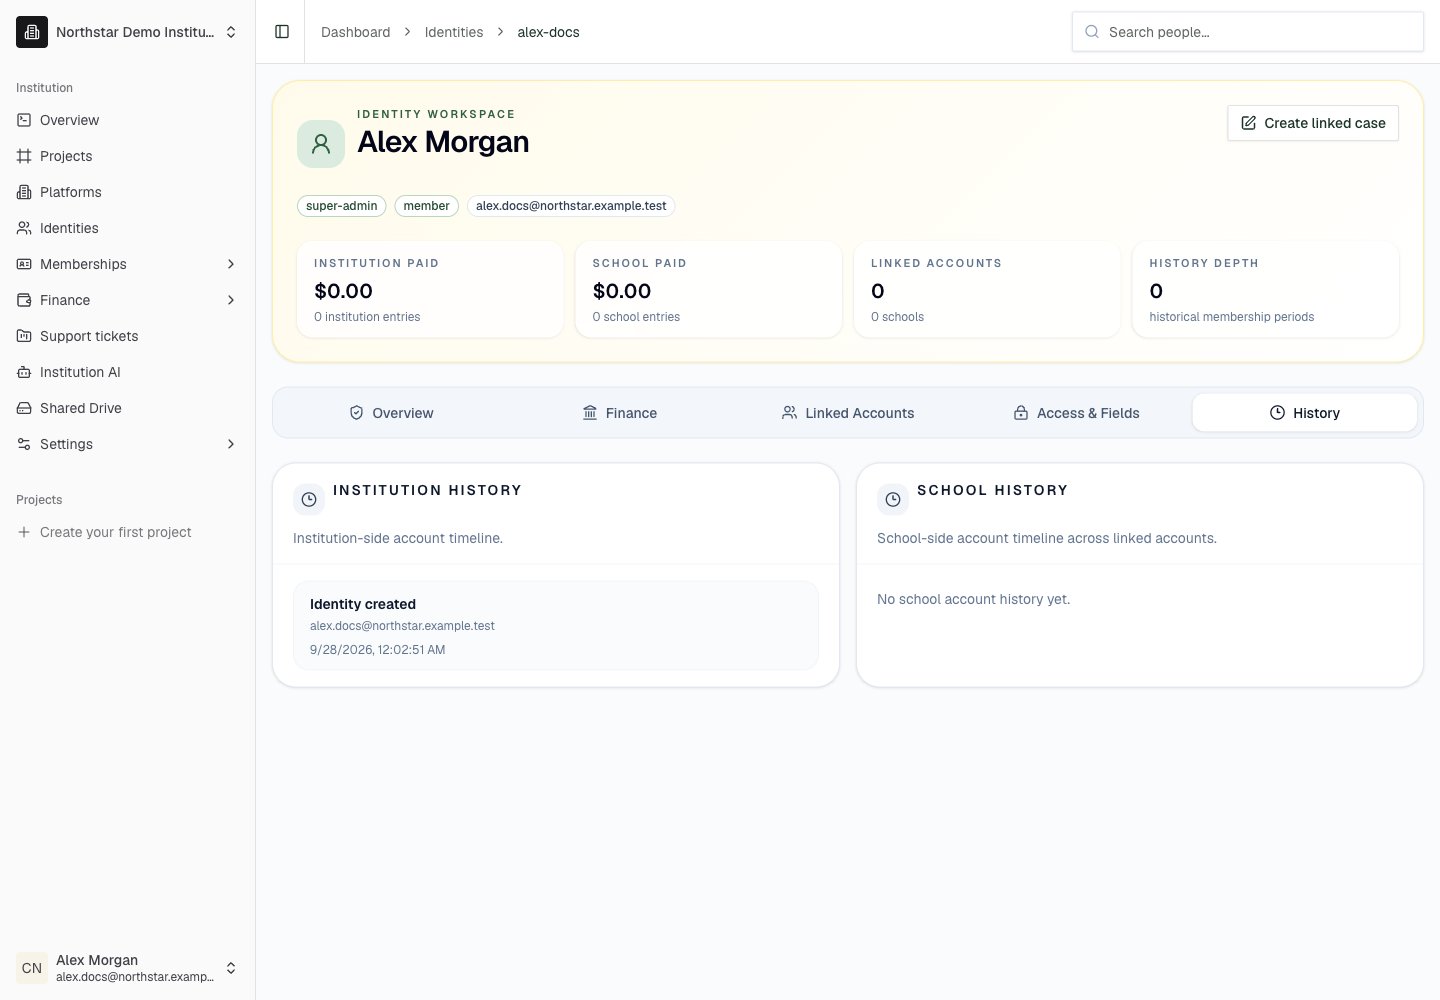
Institution History and School History show the account timeline on each side. The actions available depend on your institution role. An institution Super Admin is different from a school User with the Admin role.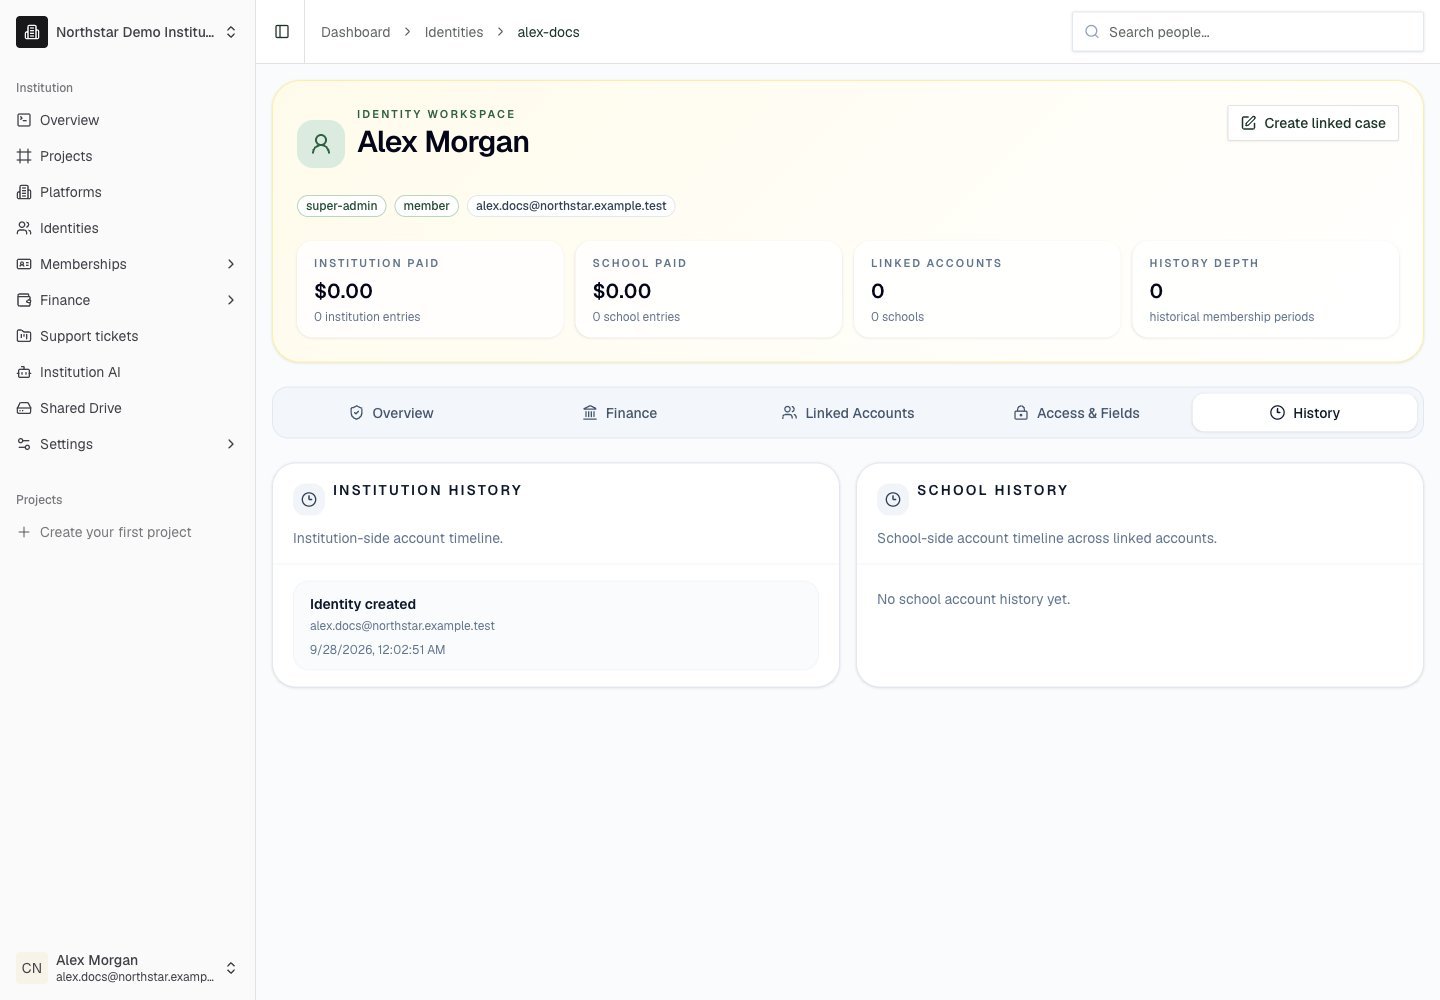
Northstar demo — Identity detail — History
AI Snapshot
The AI Snapshot panel on the Overview tab reads the identity’s activity history (logins, course participation, payments, communications) and generates a plain-language summary. Use it to quickly orient yourself before reaching out to a member or resolving a case.Global search
The institution dashboard includes a global search that finds people across every school under your institution.1
Open search
Use the Search people… bar in the header of every dashboard page (Identities, Memberships, Support tickets, Metadata, and others).
2
Type a name or email
After two characters, a dropdown shows matching people across both Identities and school-level Users. Press Enter to open the full People search page.
3
Pick a result
The People search page splits results into Identities and Users tabs, each with a count, such as Identities (1) and Users (2). Each result shows a type badge (Identity vs. User) and the school context (which school the User belongs to). Click to open the corresponding profile.
Identities are institution-wide; Users are school-specific. A single person can show up as one Identity plus multiple Users (one per school). See Identities vs Users for the full picture.
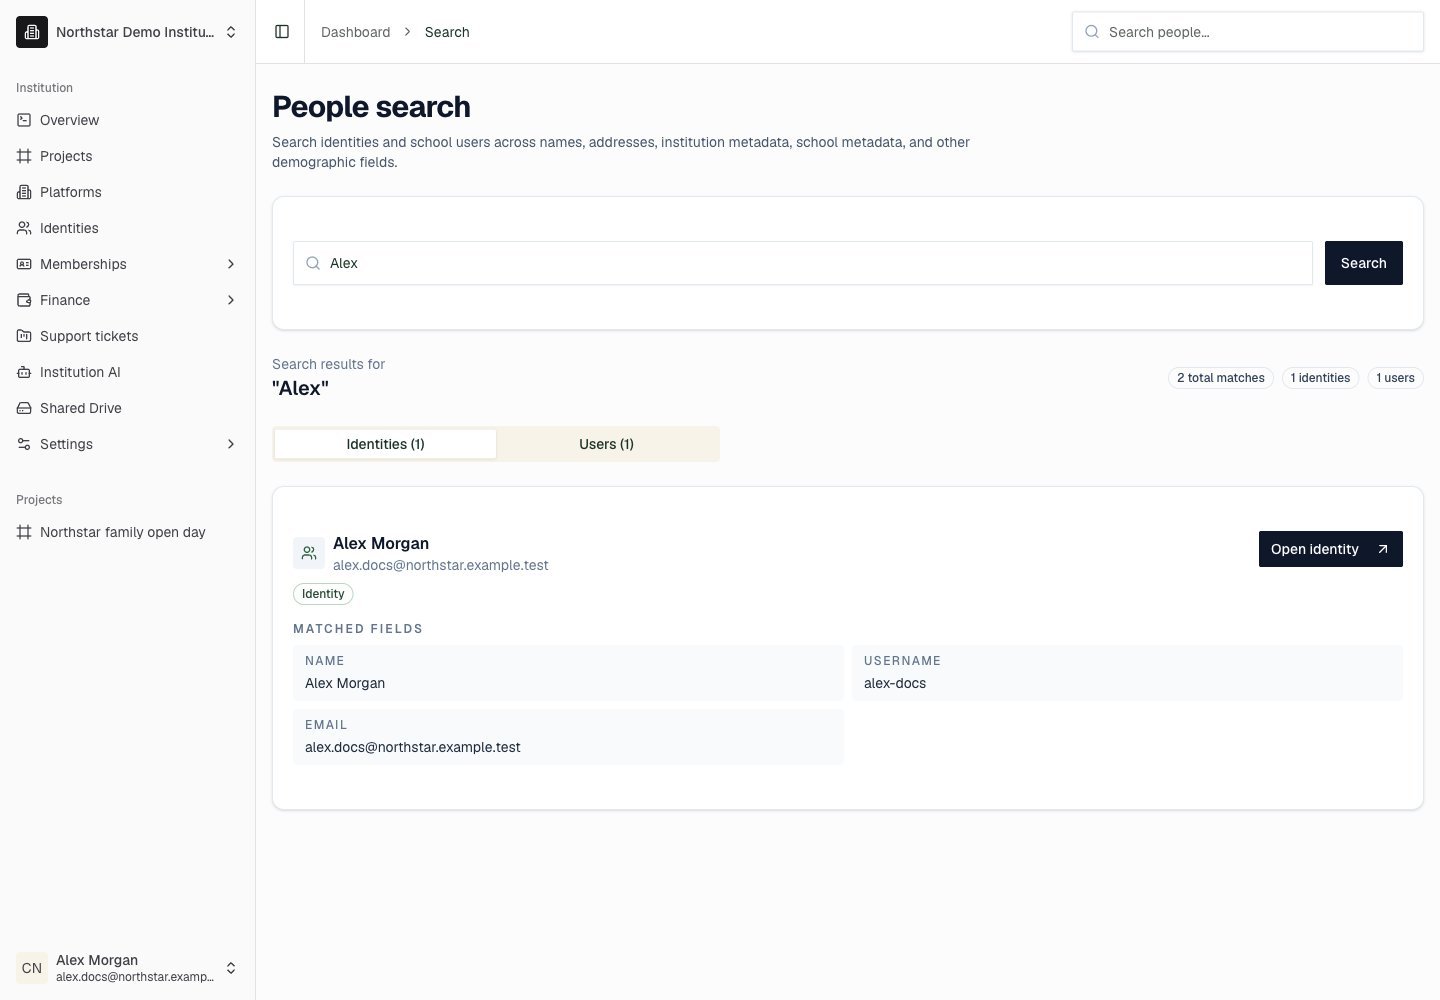
Northstar demo — Global search — Identities
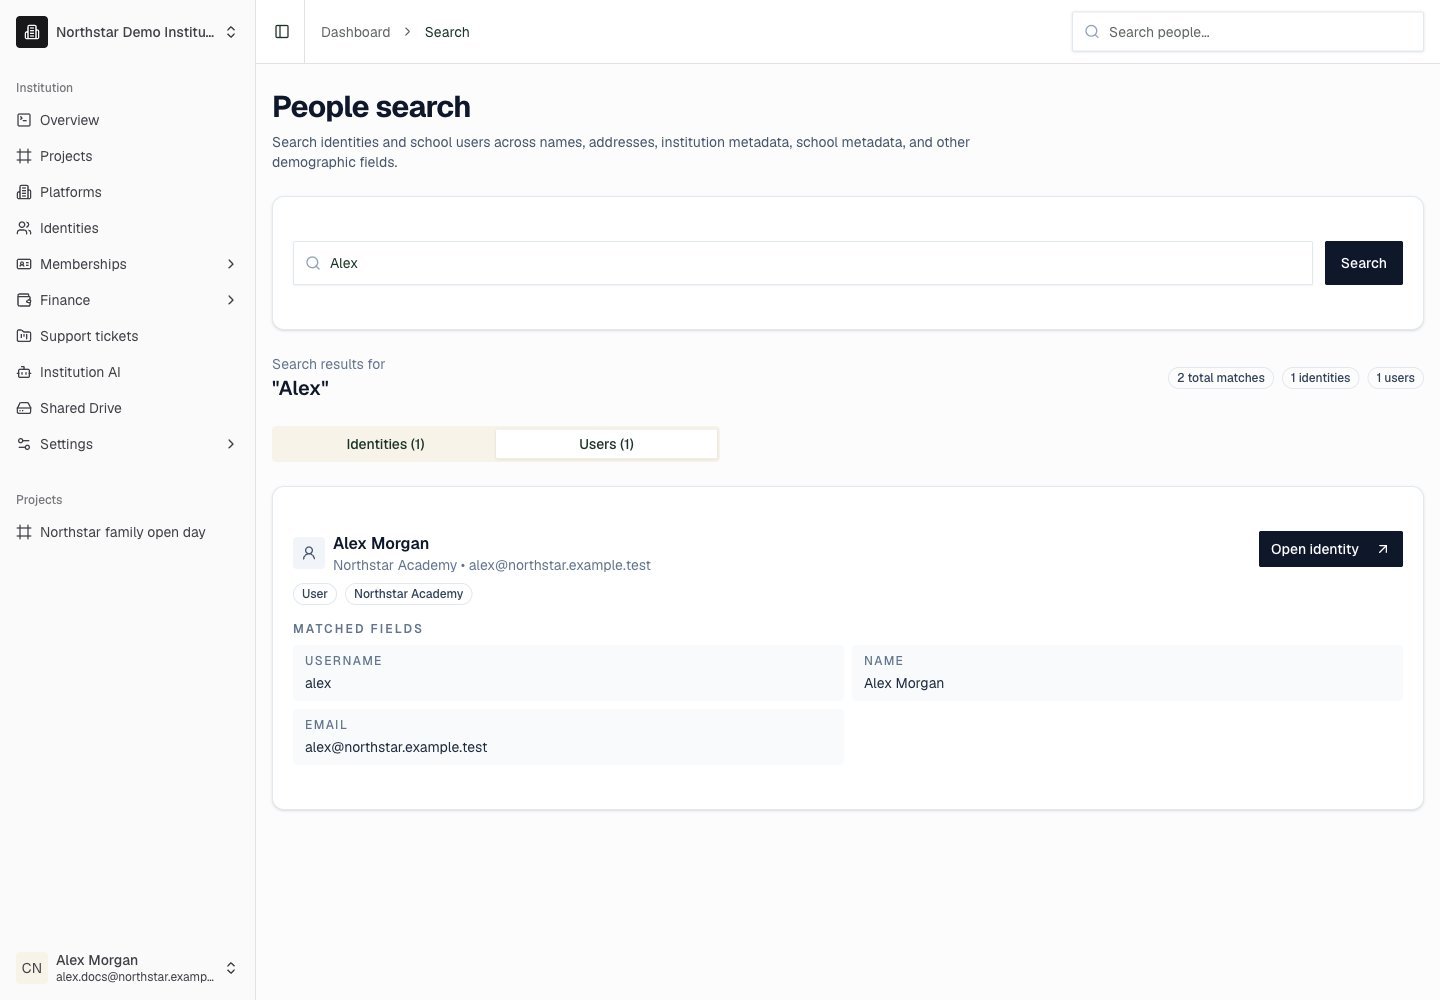
Northstar demo — Global search — Users
Inviting identities
1
Open Identities
Go to Identities in the institution dashboard.
2
Click Send invite
In the Send invite by email card, click Send invite. The Invite by email dialog opens.
3
Enter the details
A Super Admin enters the person’s email, selects institution roles, and optionally adds the Identity to projects.
4
Send invite
Click Send invite. DeanDesk creates the Identity immediately and emails login instructions with a temporary password. The invitee uses those credentials at
deandesk.com/login and should change the password.Password reset
Identities can reset their own password fromdeandesk.com/login.
1
Click Forgot your password?
On the login page, click Forgot your password? and enter your institutional account email.
2
Open the reset email
You’ll receive an email with the subject “Password Reset Request - DeanDesk”. If your email belongs to Identities at more than one institution, the email contains a separate reset button for each institution — click the one for the account you want to reset.
3
Set a new password
Enter a new password (minimum 6 characters). Once saved, you’re returned to the login page to sign in.
Reset links expire after 1 hour. If yours has expired, request a new one from the login page.
Account locking
A Super Admin can lock an identity to block their access to the platform. On an identity’s detail page, the Account access card shows whether the account is active or locked, along with the lock timestamp and reason.- Lock account — optionally enter a reason, then confirm. The lock takes effect immediately and blocks the identity and all of their linked school User accounts — the person can’t sign in anywhere on the platform until unlocked.
- Unlock account — restores access immediately.
No email is sent when an account is locked or unlocked.
Identity roles
When a Super Admin or Admin Readonly Identity’s school account is provisioned through sign-on, it receives Admin and Member school roles. Institution read-only access therefore does not imply read-only school access. Member-only identities receive school roles based on the school’s onboarding policies. Review the linked school User’s roles and permissions separately.
Super Admins can change institution roles from an Identity’s access controls. DeanDesk prevents removal of the institution’s last Super Admin.