

This guide primarily covers institution-level Projects at
deandesk.com/dashboard. The final section explains separate school-level volunteer projects at yourschool.deandesk.com. Institution projects use Identities; school projects use Users.Video walkthrough
This walkthrough uses the real DeanDesk interface with the fictional Northstar Academy demo school and a calm, AI-generated English voice. Payments and outside services are not connected in the demo.
- A schedule of events, including recurring events
- A feed for updates, polls, and shared task lists
- A linked Google Drive folder for the project’s files
Create a project
1
Open Projects
From the institution dashboard, go to Projects and click New Project.
2
Fill in the basics
Enter a Project Title and Description (both required). Optionally pick a School — leave it as None (Institution-only) for a project that isn’t tied to any school — and a Project Owner from your admin identities.
3
Add members
Under Project Members, check the Identities who should participate. Members receive access to the project’s Google Drive folder, shared via their identity email, when the folder is created.
4
Set the timeline and status
Pick an optional Start Date and End Date, and use the Active Status switch to make the project immediately visible to members.
5
Create
Click Create Project.
If your institution has connected Google Drive, creating a project automatically creates a Drive folder named after the project inside your institution’s root folder and shares it with the project members’ identity emails.
Browse and filter projects
The Projects page shows every project as a card with its title, owner, timeline, and status badges (Draft for inactive projects, days-left warnings for projects ending soon, a school badge, and a Drive badge when a folder is linked).- Use the Filter projects… box to search by title.
- Use the school dropdown to show All Schools, Institution Only projects, or projects for one school.
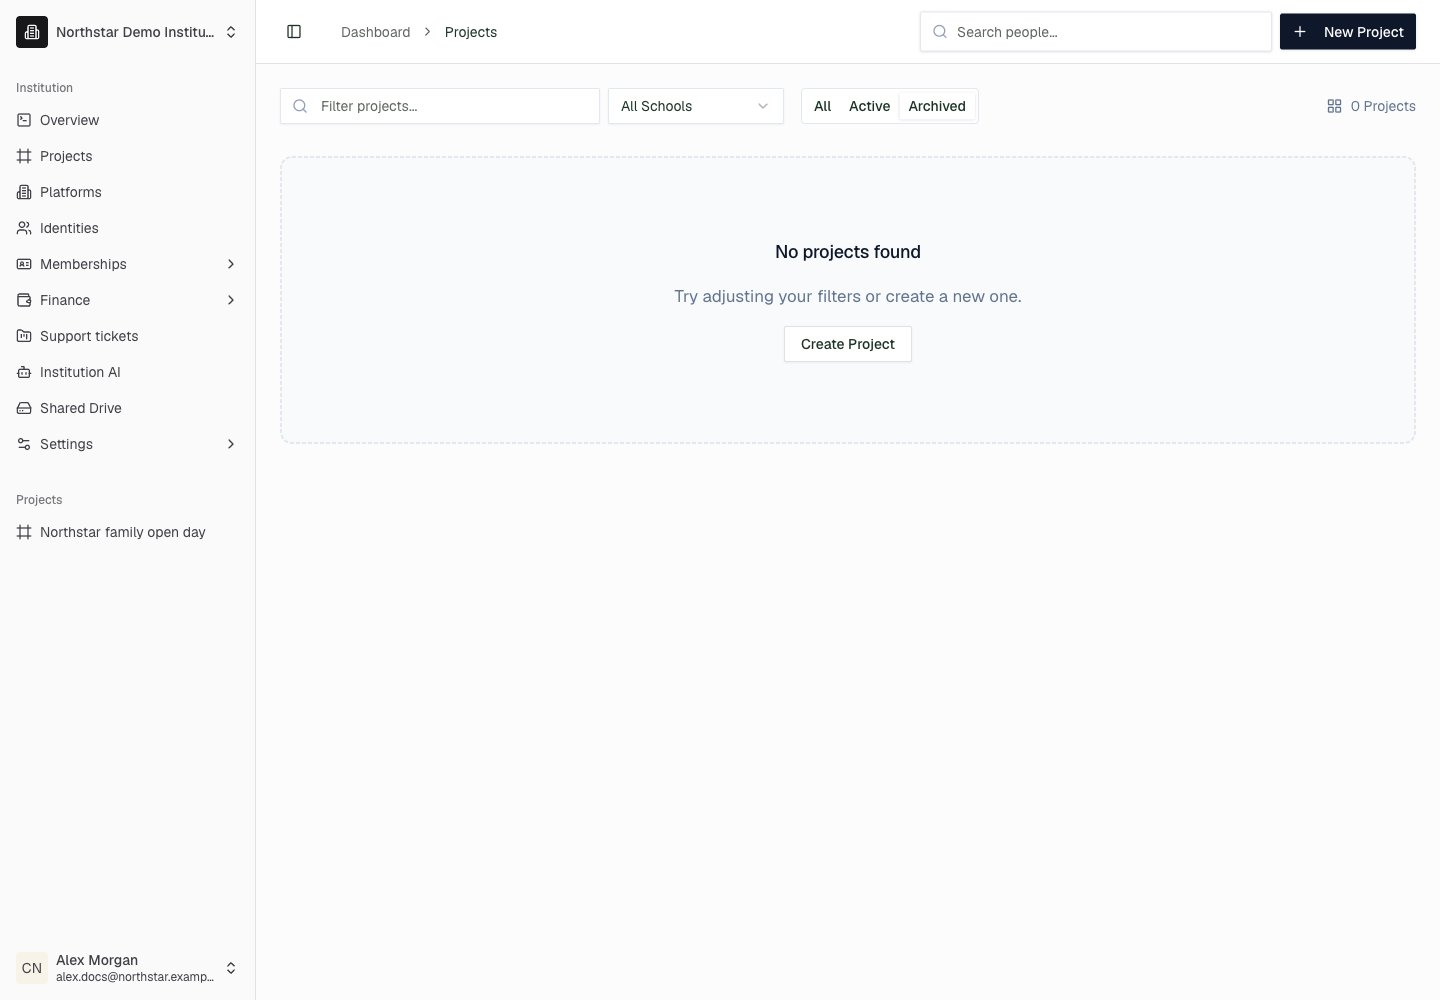
- Use the All / Active / Archived tabs to filter by status. Archived shows inactive projects, which carry the Draft badge.
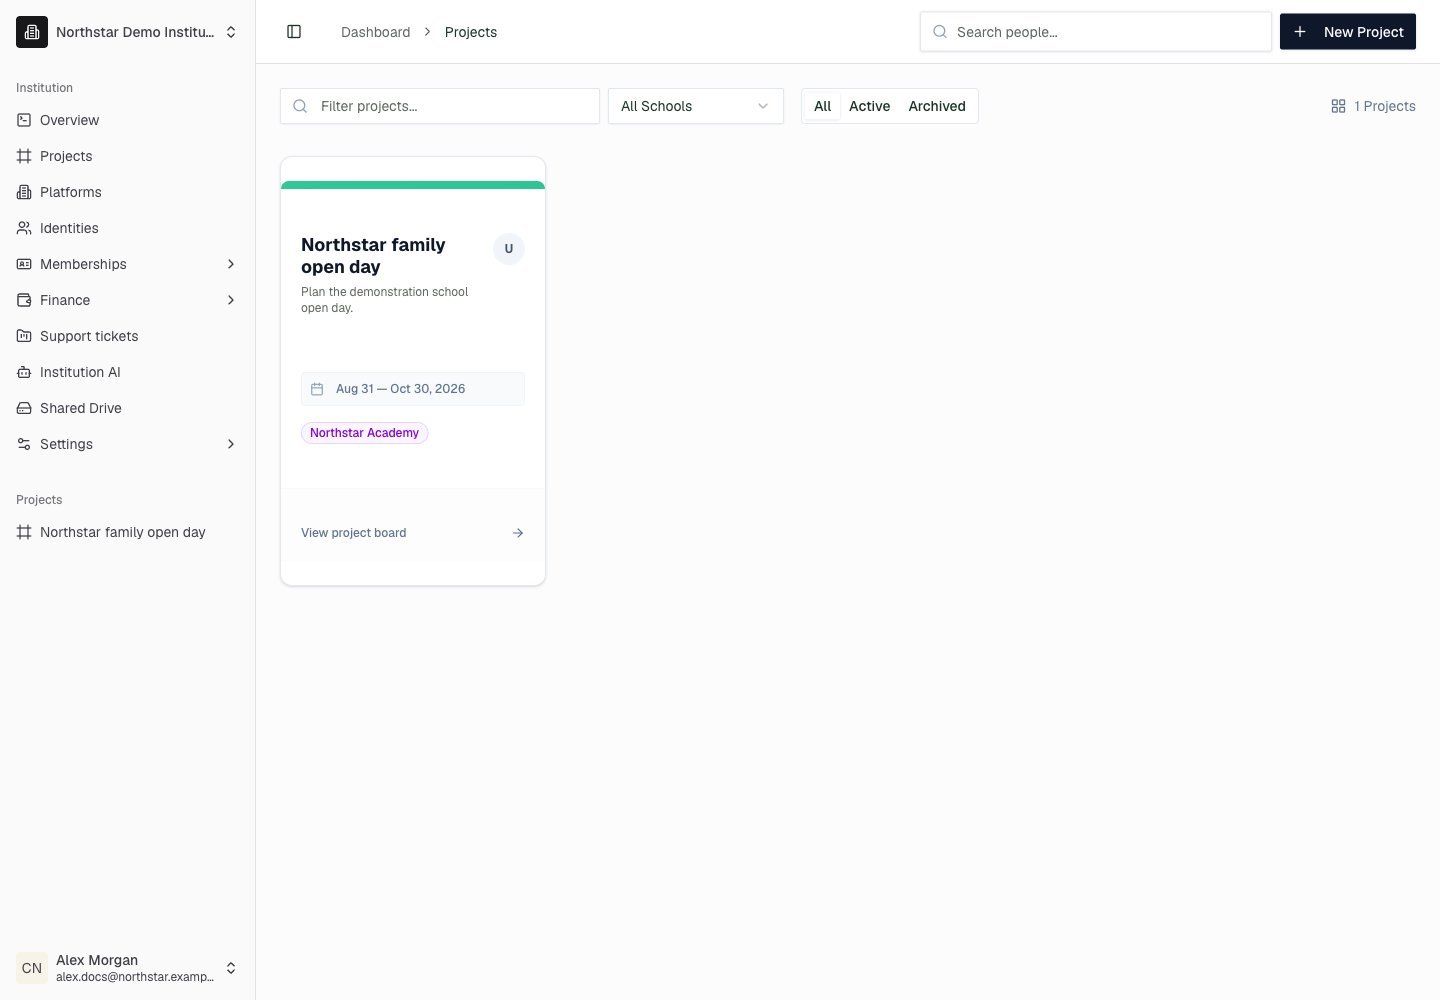
Northstar demo — Projects — All
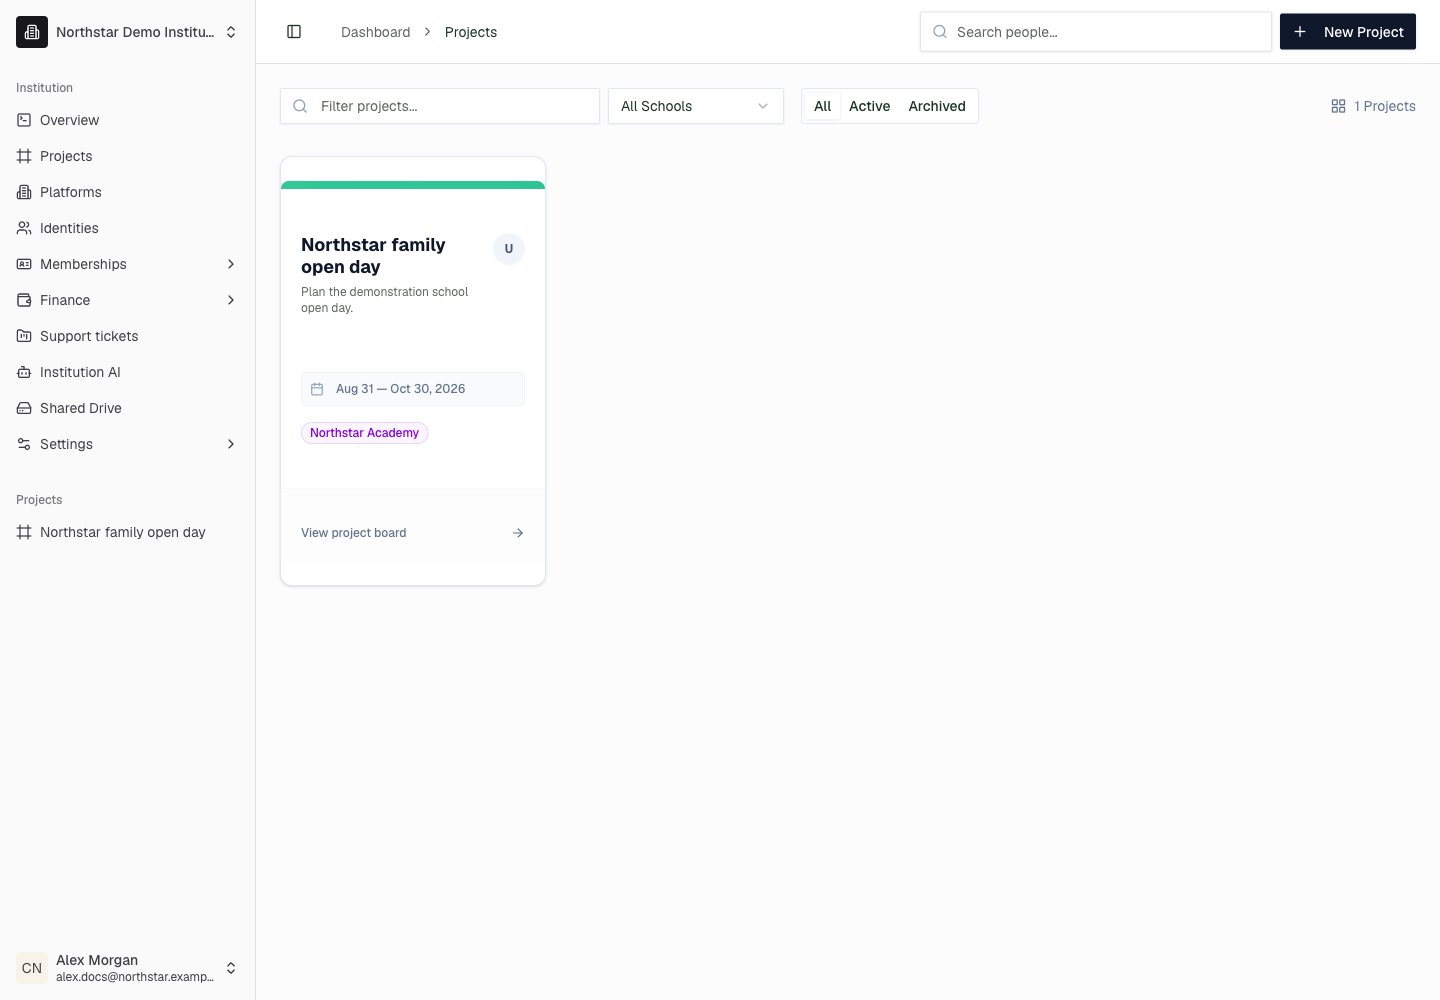
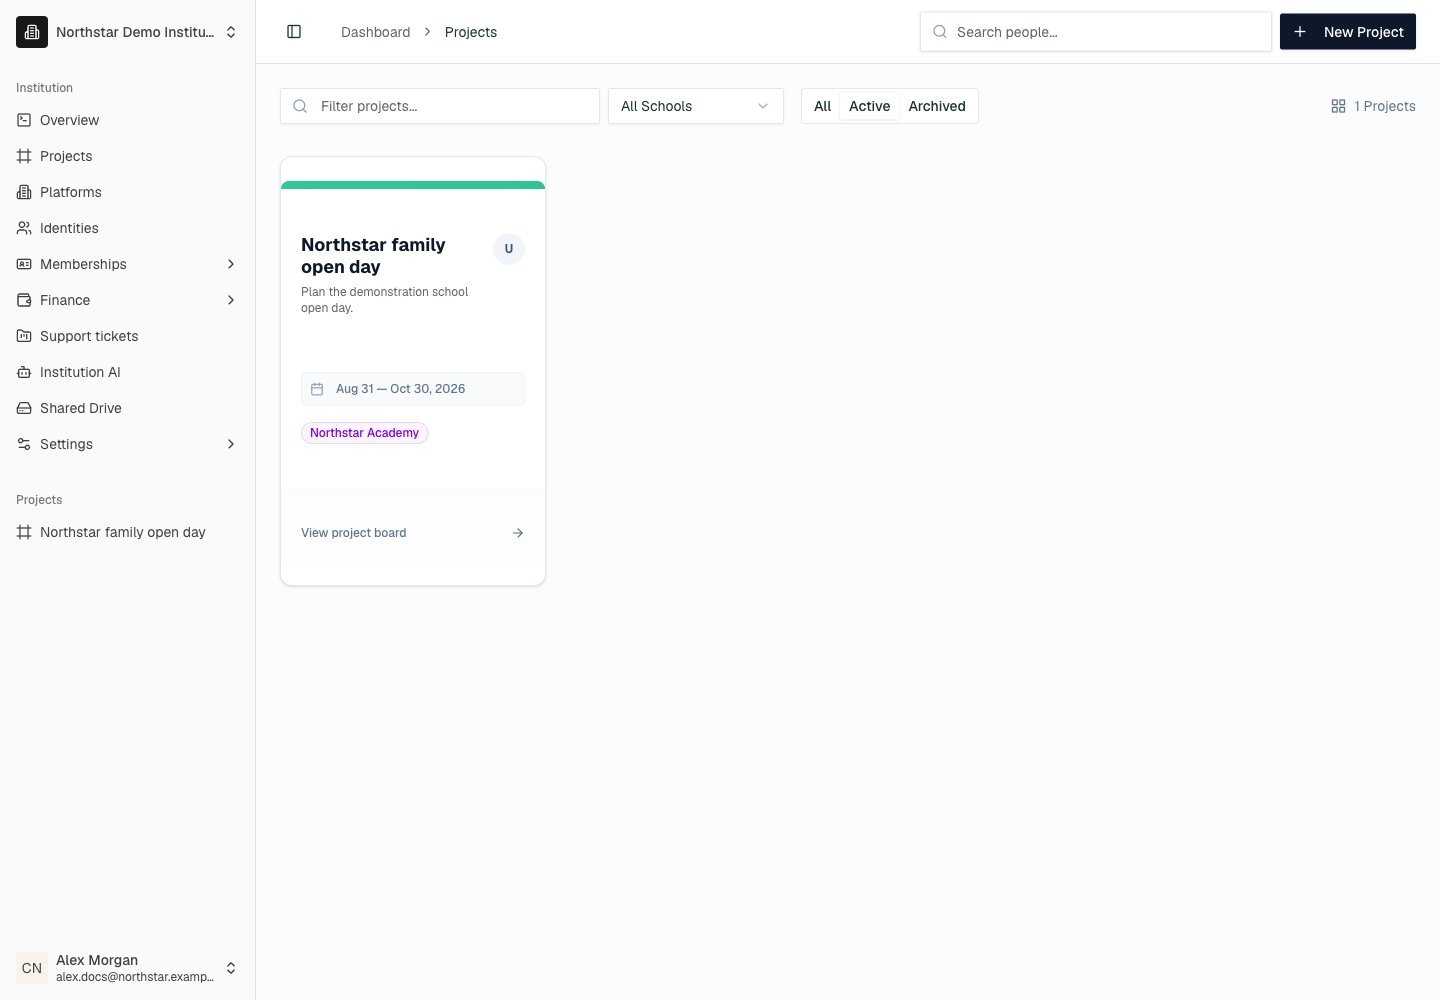
Northstar demo — Projects — Active
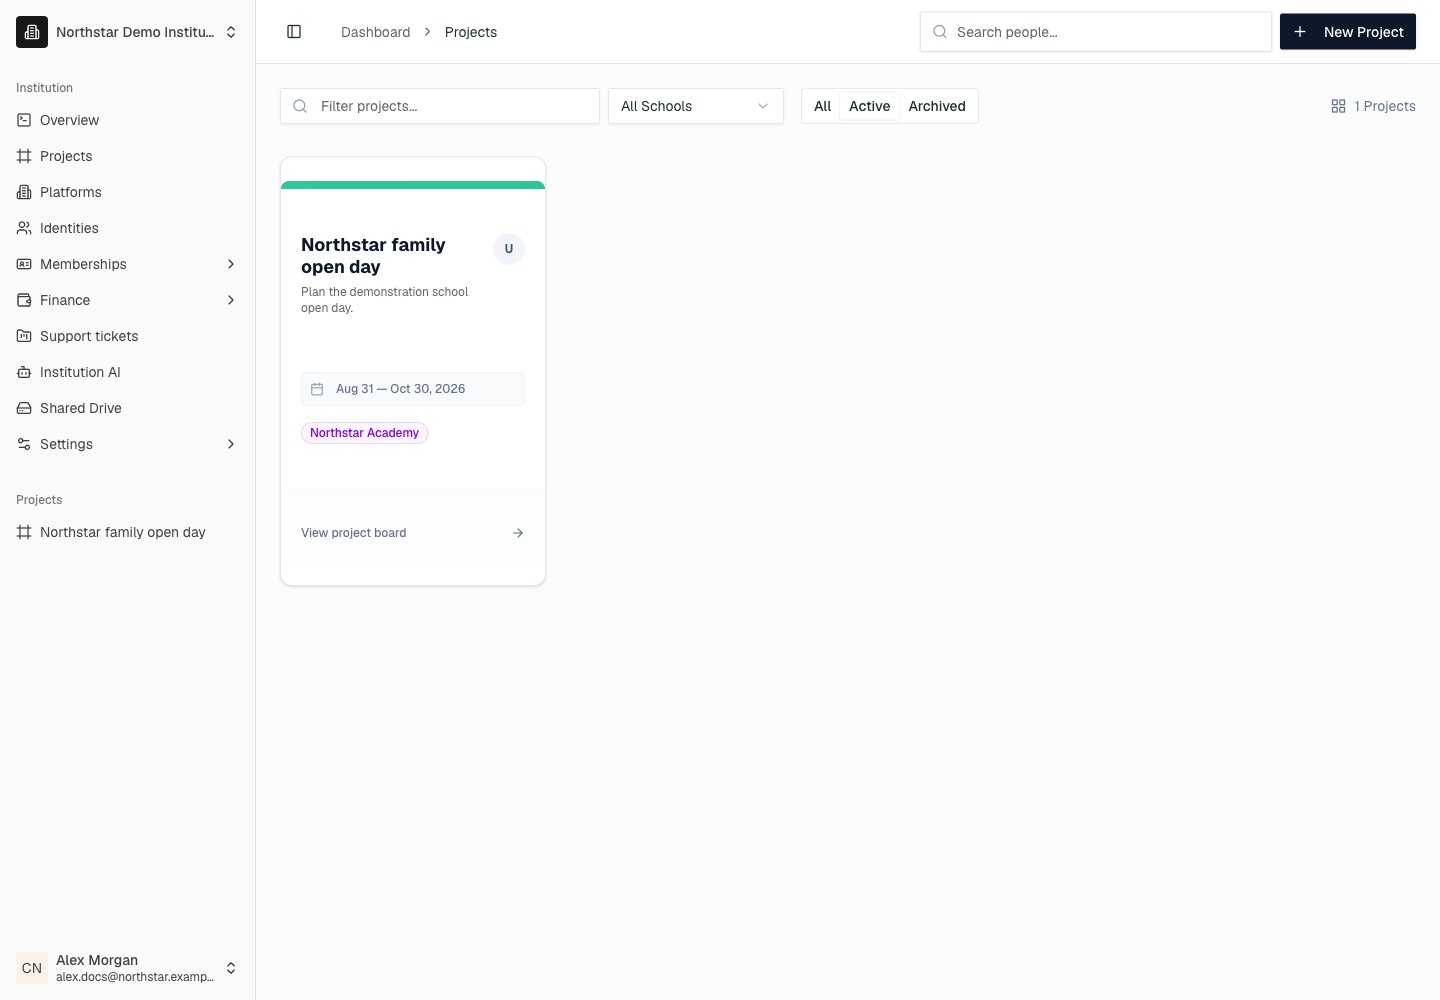
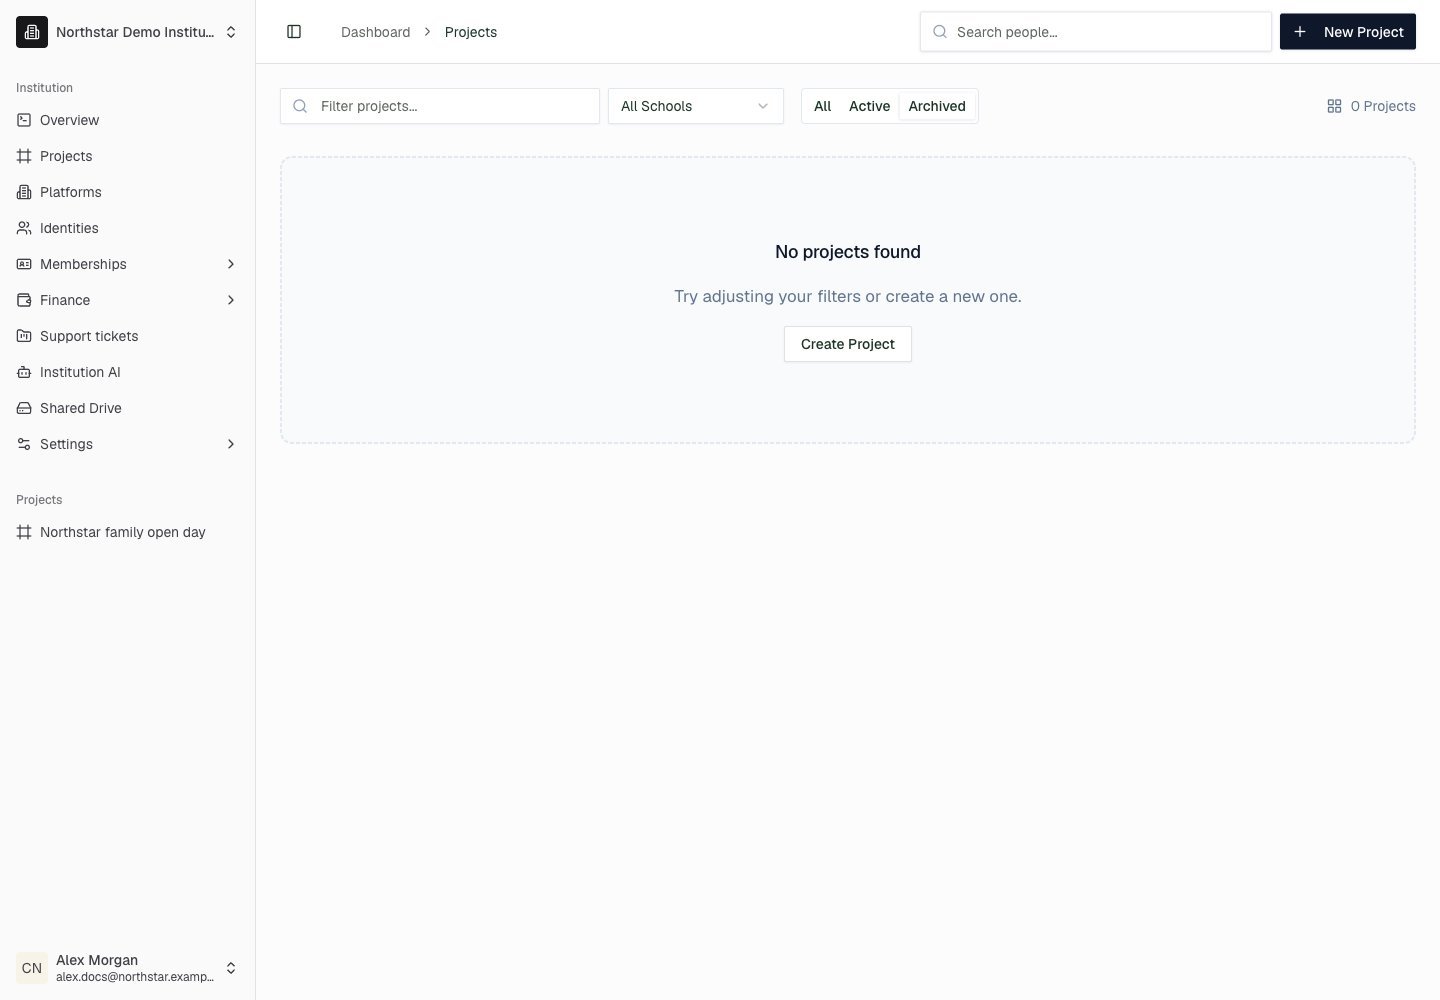
Northstar demo — Projects — Archived
The project page
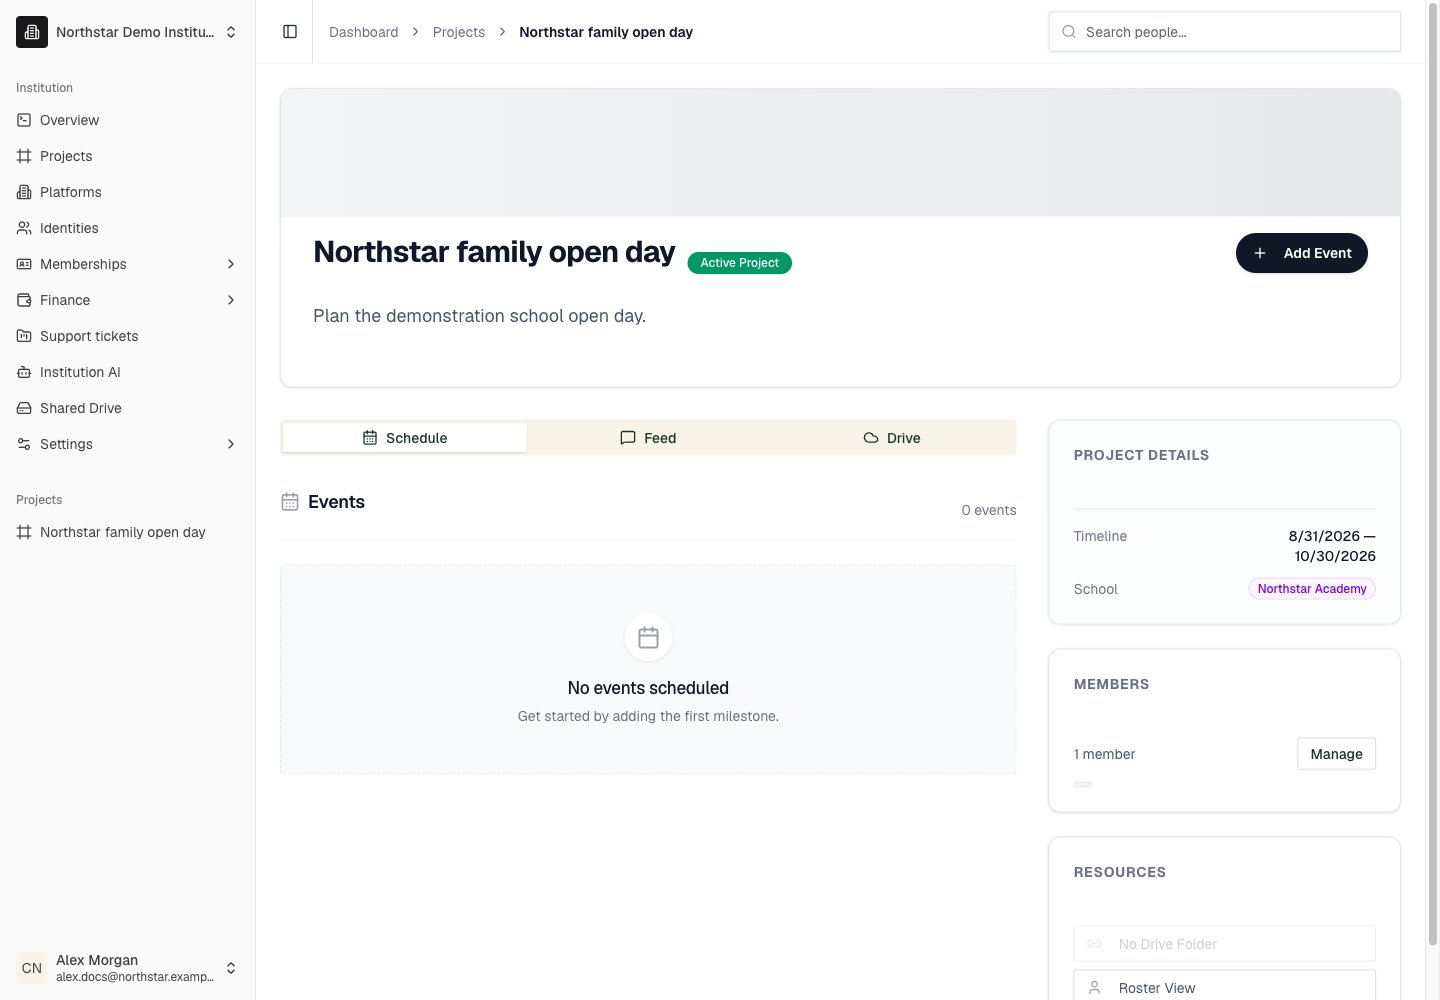
Each project page shows a header with the project’s title, description, tags, and an Active Project or Archived badge, plus three tabs: Schedule, Feed, and Drive. A sidebar shows Project Details (owner, term, timeline, school, and enrollment code if set), Members, and Resources (a quick link to the Google Drive folder).Schedule
The Schedule tab lists the project’s events in date order, with time, location, and status badges (Tentative, Cancelled). To add an event, click Add Event in the project page header (above the tabs). The Create Project Event dialog opens:1
Enter the details
Enter an Event Title, set the Date & Time (or flip the All day switch), and optionally add a Location (room, building, or meeting link) and a Description.
2
Set recurrence (optional)
Pick a repeat option — Does not repeat, Daily, Weekly on [day], Monthly on the [date], or Custom…. Custom recurrence lets you repeat every N days/weeks/months/years, choose weekdays, and end Never, On specific date, or After number of occurrences. For simple repeats, set an Ends on date or leave it empty to repeat indefinitely.
3
Save
Click Create Event.
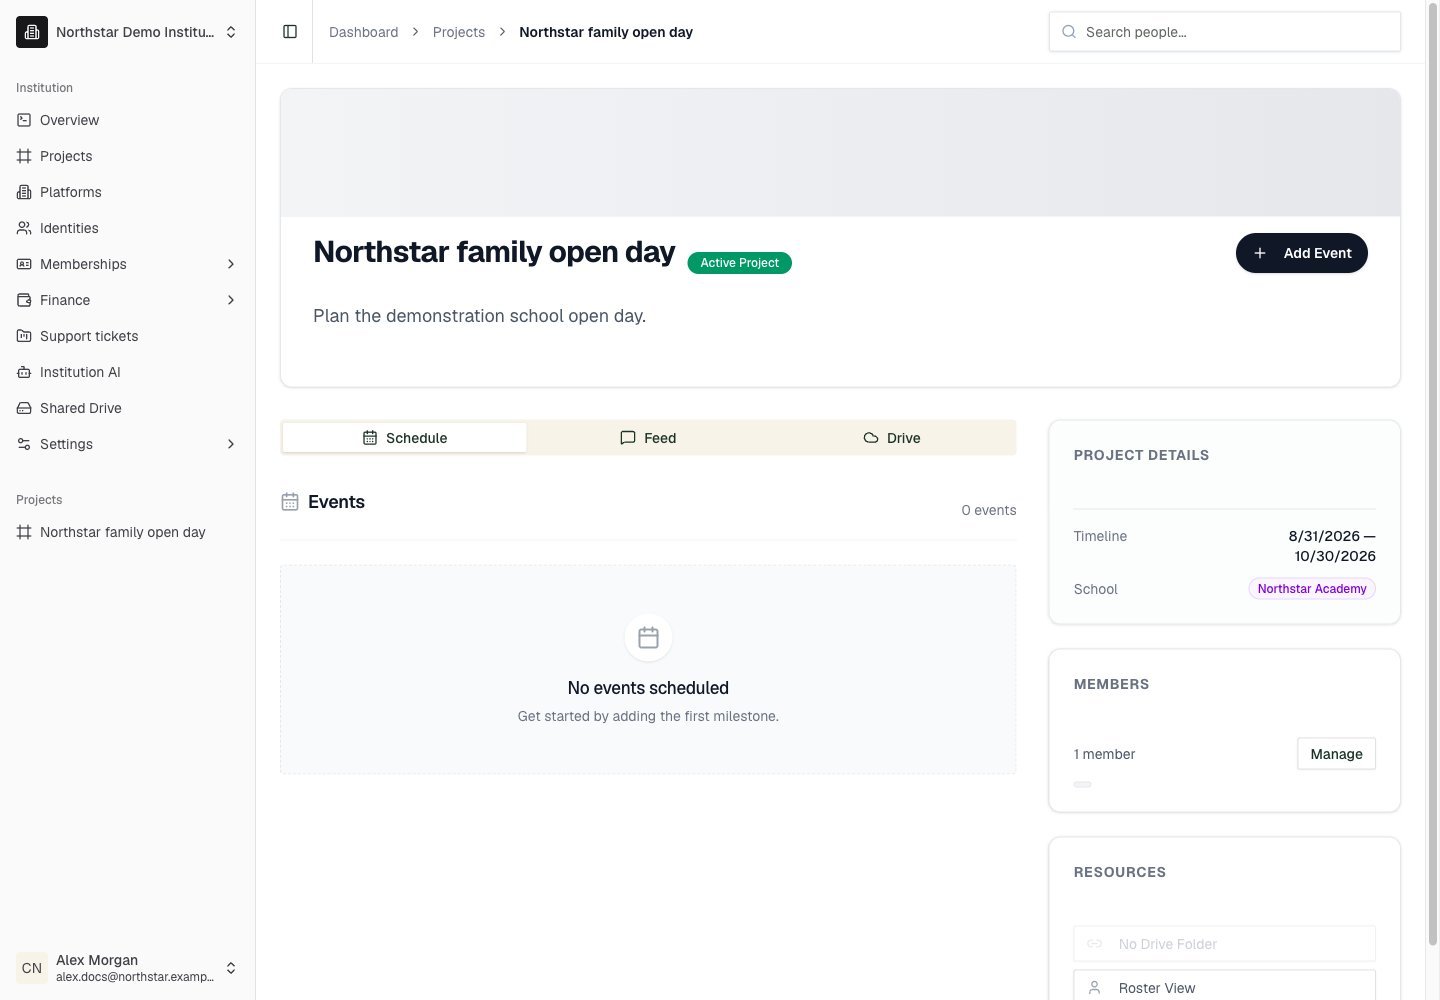
Northstar demo — Project detail — Schedule
Feed
The Feed tab (Updates & Discussion) is the project’s message board. Click New Post (or Create Post when the feed is empty) to open the Create Post dialog, then choose a post type:
Click Post to publish. Members can react to posts with emoji and reply in threads. Pinned posts appear highlighted at the top of their card.
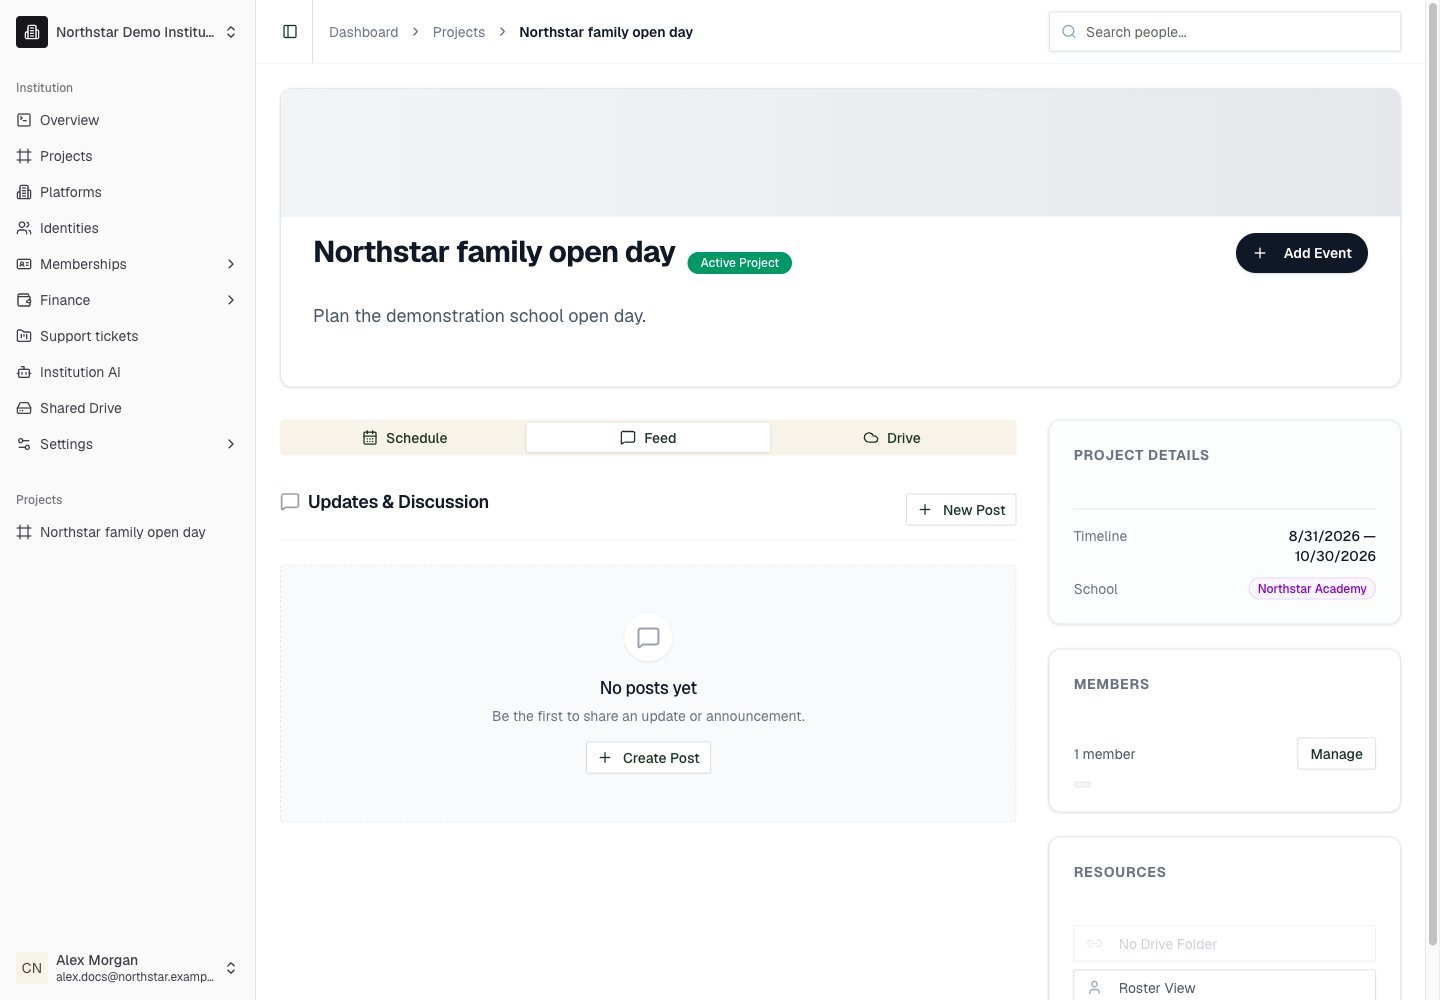
Northstar demo — Project detail — Feed
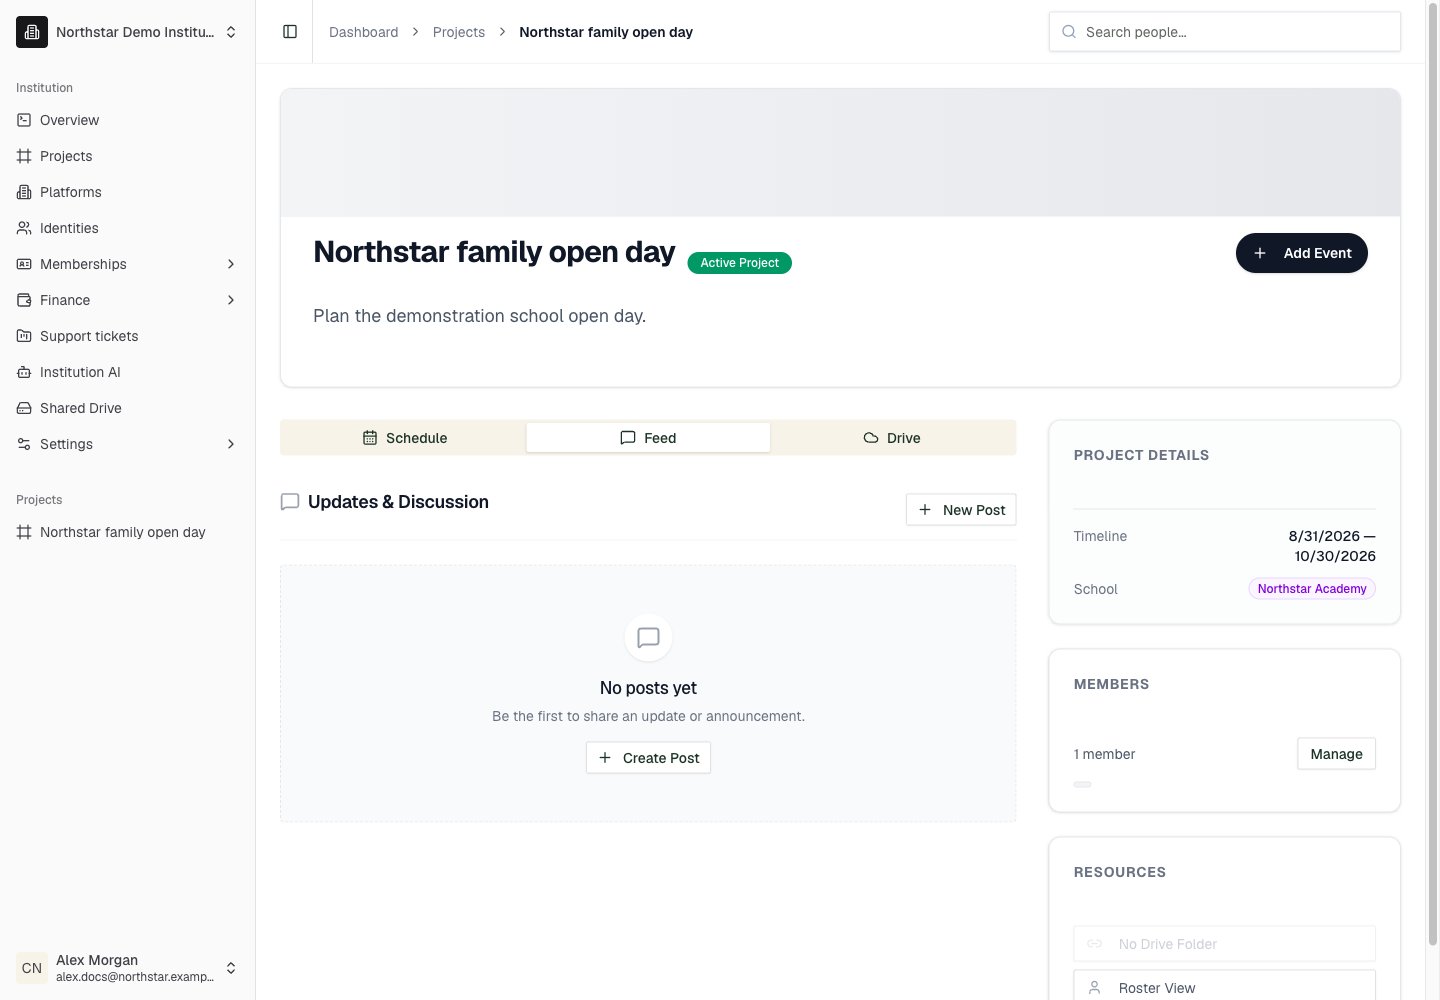
Drive
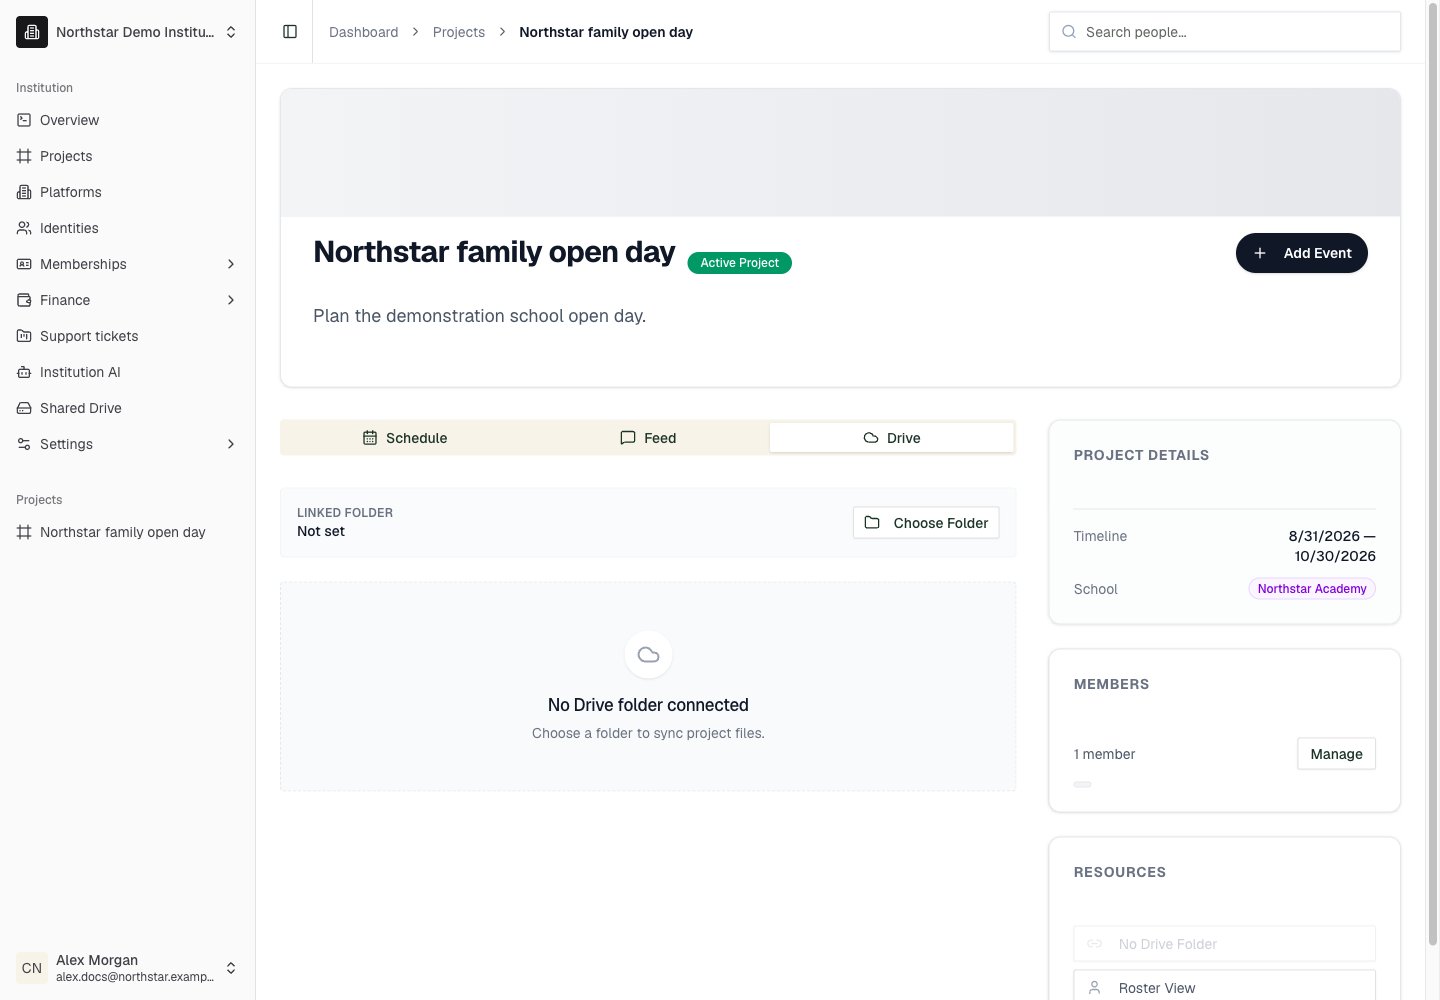
The Drive tab shows the files in the project’s linked Google Drive folder, with owner, size, and modified date. From here you can:- Choose Folder — link the project to a different existing Drive folder.
- Open in Drive — jump to the folder in Google Drive to upload or organize files.
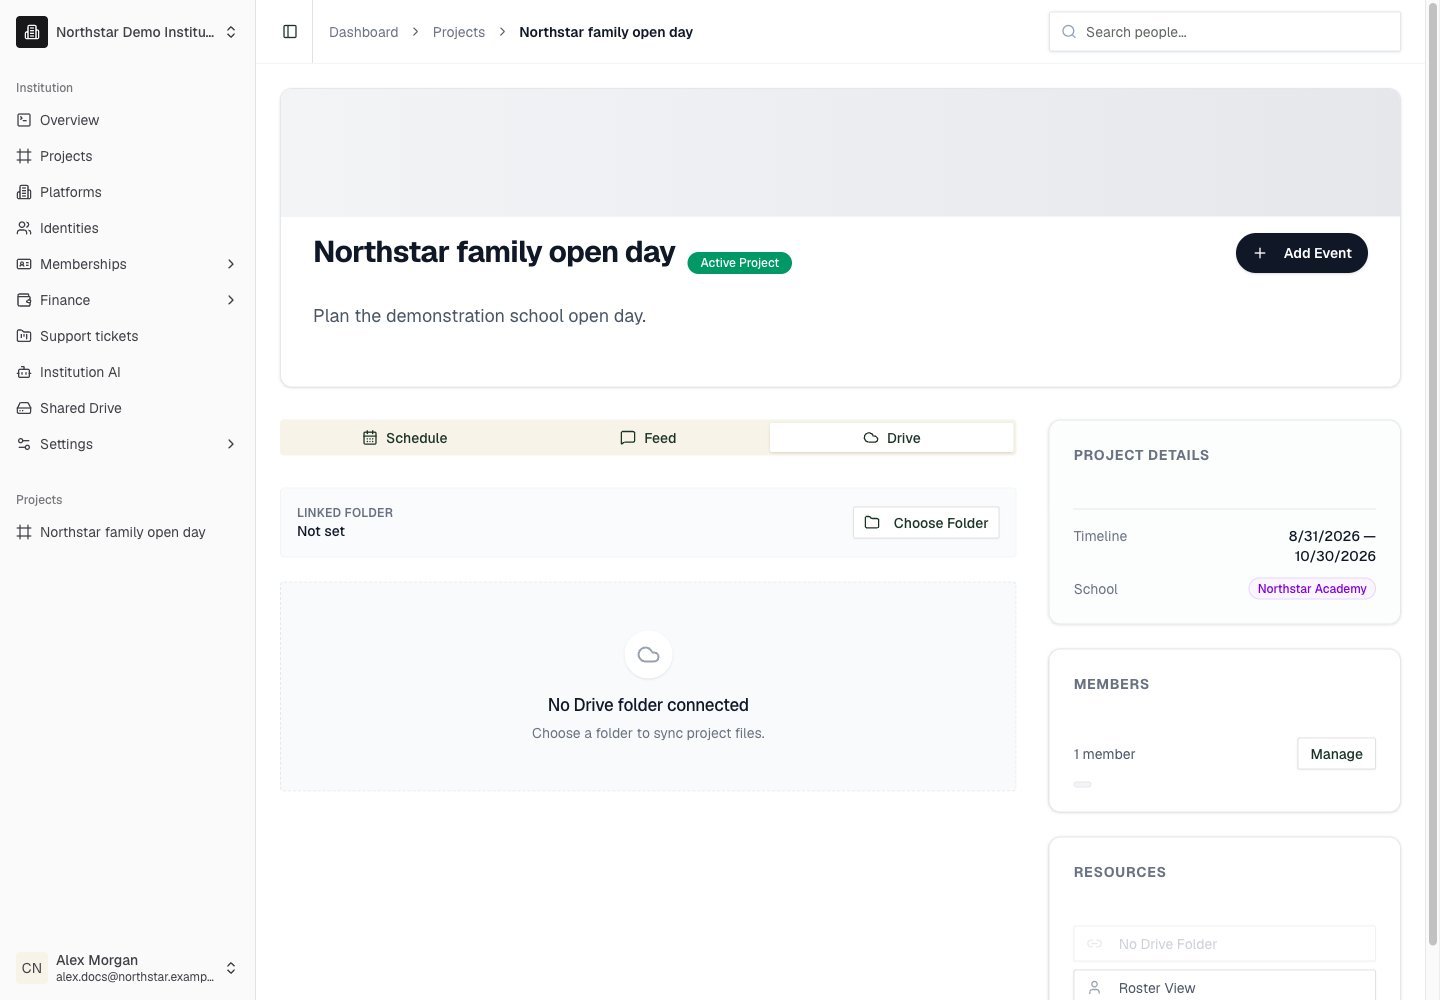
Northstar demo — Project detail — Drive
Manage members
In the Members sidebar card, click Manage to open the Manage project members dialog. Check or uncheck Identities and click Save members. Members get access to the project’s Google Drive folder using their identity email.Project members are institution Identities, not school Users. To collaborate with someone on a project, they need an identity at your institution — see Identities.
School volunteer projects
School portals have their own Projects workspace. These projects are distinct from institution Projects, even when an institution project is associated with a school. Their participants are school Users, not institution Identities, and their access follows the school’s volunteer and admin rules. School admins can manage school projects. Approved volunteers can access projects available to them; other users may see a volunteer application or Application Pending screen. See Volunteers for approval and hours tracking. The school project page has Schedule, Feed, and Tasks tabs. Admins can create and edit schedule events. The feed supports updates, polls, replies, reactions, and task posts. Project members can participate in the feed, while management controls depend on ownership and role.Track school project tasks
1
Open Tasks
Open the school project and select Tasks, then New Task. A task can also be created as a task post in the feed.
2
Add the checklist
Describe the work, enter one or more checklist items, choose optional item assignees from project members, and set a due date if needed.
3
Track progress
Check off completed items. The task view shows completion counts and overdue dates. Admins and the task author can change item assignments.