

School-level feature — managed within your school portal at
yourschool.deandesk.com.Video walkthrough
This walkthrough uses the real DeanDesk interface with the fictional Northstar Academy demo school and a calm, AI-generated English voice. Payments and outside services are not connected in the demo.
Create a physical product
1
Choose the product type
Click Create product and choose Physical Item. Add the name, description, images, and other catalog details.
2
Set stock and shipping details
Add the SKU, stock count, optional weight and dimensions, and flat shipping fee. Use attributes to describe the item.
3
Add variants when needed
Define option sets such as size or color, generate variants, and review each variant’s SKU, stock count, and active state.
4
Set a one-time price
Physical products use one-time or free pricing. Save the product, then review its public page and checkout before sharing it.
Review orders
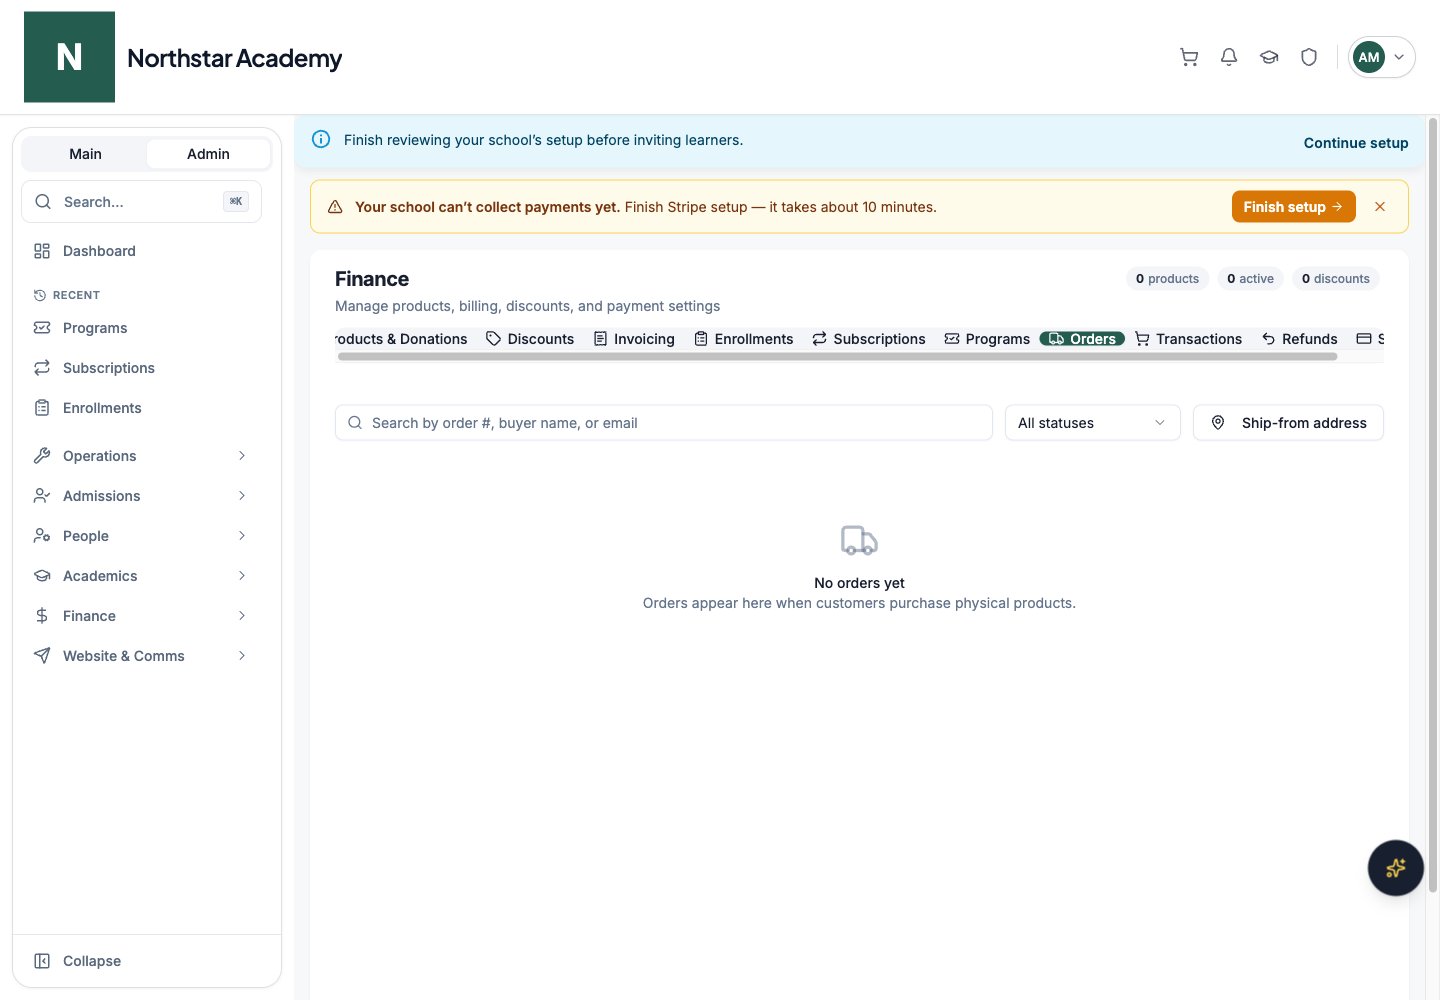
Open Finance → Orders. Search by order number, buyer name, or email, and filter by fulfillment status: All statuses, Pending, Shipped, Delivered, or Canceled. Click an order to review its buyer, shipping address, items, payment status, totals, and any shipping label or tracking number. Payment and fulfillment are separate statuses. A paid order can still be pending shipment.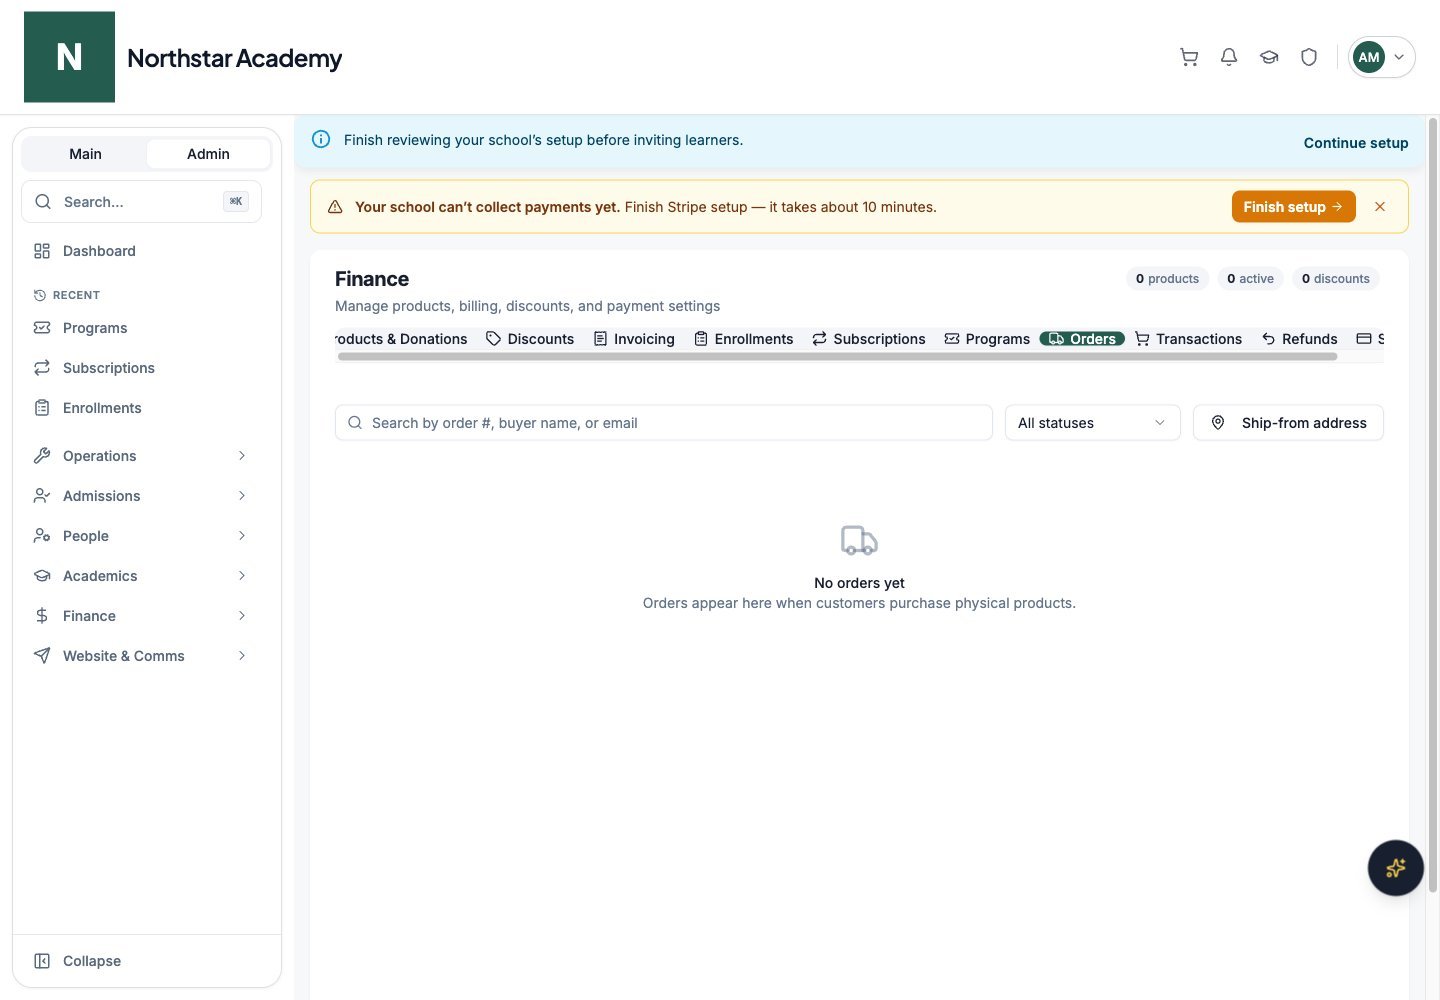
Northstar demo — Orders
Update fulfillment
- Mark shipped is available for a paid, pending order.
- Mark delivered is available after an order is shipped.
- Cancel order is available while an order is pending or shipped. Select Restock items if the inventory should be returned to stock.
Canceling fulfillment does not refund the buyer’s payment. Process a payment refund separately from Transactions.
Connect shipping
1
Open the ship-from address
From Orders, click Ship-from address.
2
Connect Shippo
Under Shippo account, click Connect Shippo account and complete the authorization flow. Each school connects its own Shippo account. If the button is unavailable because the integration is not configured, contact DeanDesk support.
3
Save the origin address
Fill in the shipping origin details and click Save address.
Buy and print a label
1
Open the order
Click Create shipping label in the order details.
2
Review the parcel
Check the parcel dimensions, weight, and units. Product defaults may need adjustment for the packed shipment.
3
Choose a rate
Click Get rates. Review the carrier, service, price, and delivery estimate, then select a rate.
4
Purchase and download
Click Buy label. Use Open label PDF to print it and Track package when a tracking link is available.