School-level feature — managed within your school portal at
yourschool.deandesk.com.Video walkthrough
This walkthrough uses the real DeanDesk interface with the fictional Northstar Academy demo school and a calm, AI-generated English voice. Payments and outside services are not connected in the demo.
Admissions forms are built here in the Form Manager but attached to your application process in the Onboarding Policy Manager (Applicant Journey tab). See Admissions for that flow. This page covers the form builder itself and assigning forms outside admissions.
Build a form
1
Open the Form Manager
Go to Admin Dashboard → Form Manager (in the Admissions section). The page opens with the heading Forms.
2
Create a form
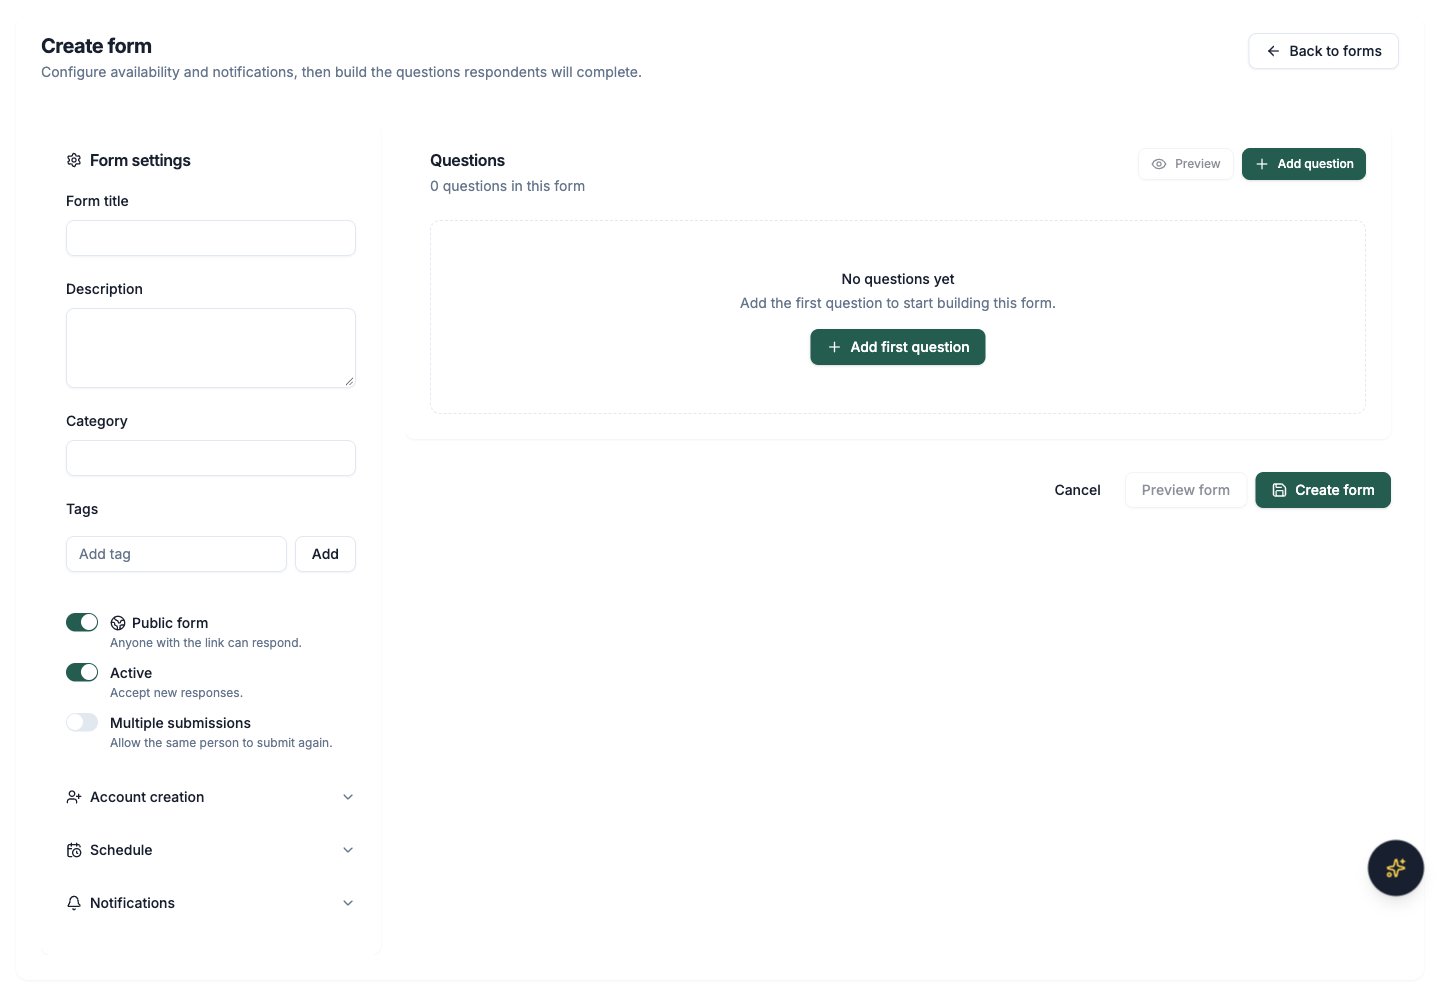
Click Create form. In Form settings, give the form a Form title, and optionally a Description, a Category, and Tags. Categories and tags make forms easier to find and filter later.
3
Add questions
Click Add first question. After the first question exists, click Add question or use the quick-add buttons below your questions (such as Short answer, Long answer, Multiple choice, and Upload). For each question, enter the question text, pick a question type, and turn on Required response if an answer is mandatory. Choice questions get an options list; click Add option to add more. Reorder questions with the up and down arrows.
4
Preview and save
Click Preview to see the form as a respondent will, then click Create form to save. When you edit an existing form, the button reads Update form. You can return to edit the form at any time from the Form Manager.
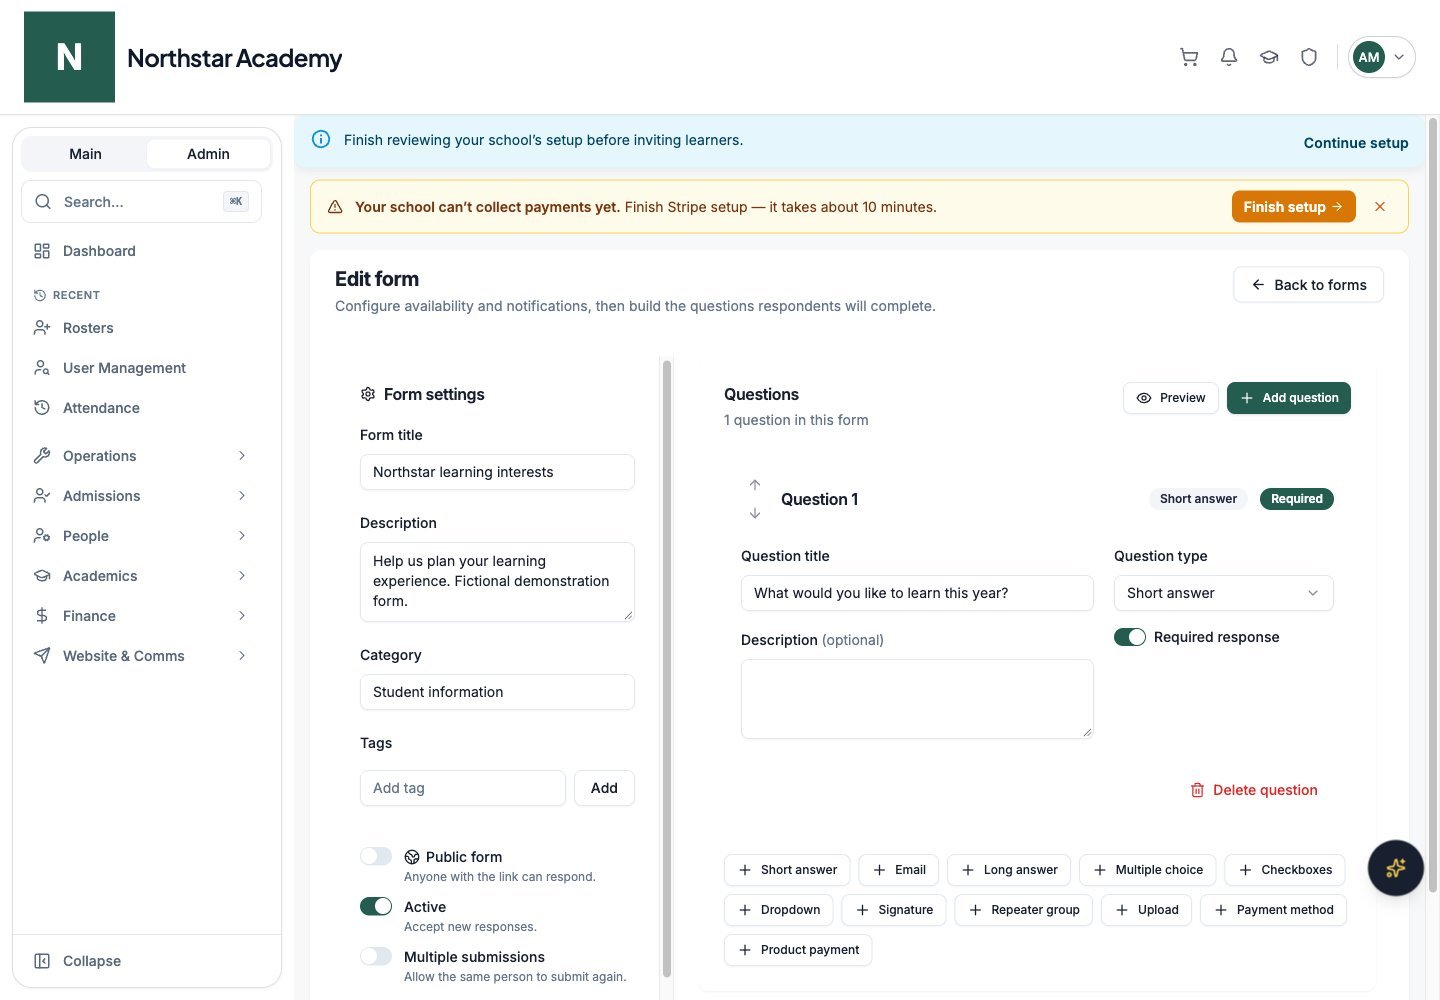
Northstar demo — Edit form
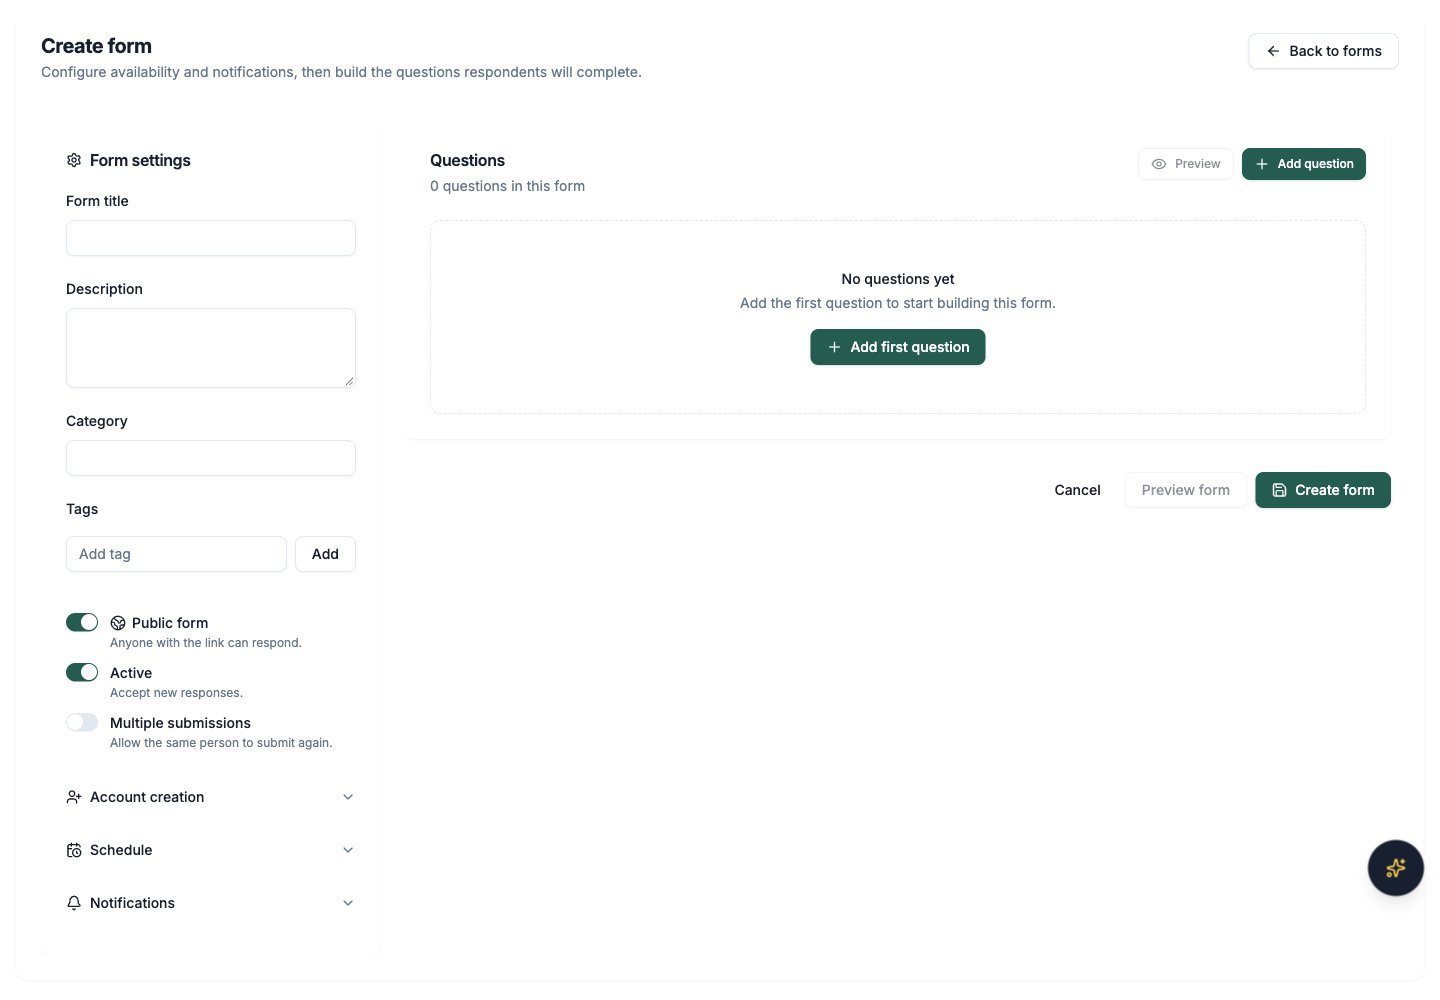
Northstar demo — Create form
Question types
A form can have only one Payment method question, and cannot combine it with Product payment questions. Configure the accepted payment methods and eligible products in the question settings. Payment collection requires a working school payment configuration.
Email contact list opt-in
An Email question can target an existing contact list or create a new one. Customize the opt-in checkbox text in the question settings. The email answer is still submitted when the box is unchecked, but the address is not added to the list.Form settings
The Form settings panel next to the builder controls how the form behaves:
Account creation, Schedule, and Notifications are collapsible sections. Click a section’s heading to expand it.
The Form Manager page
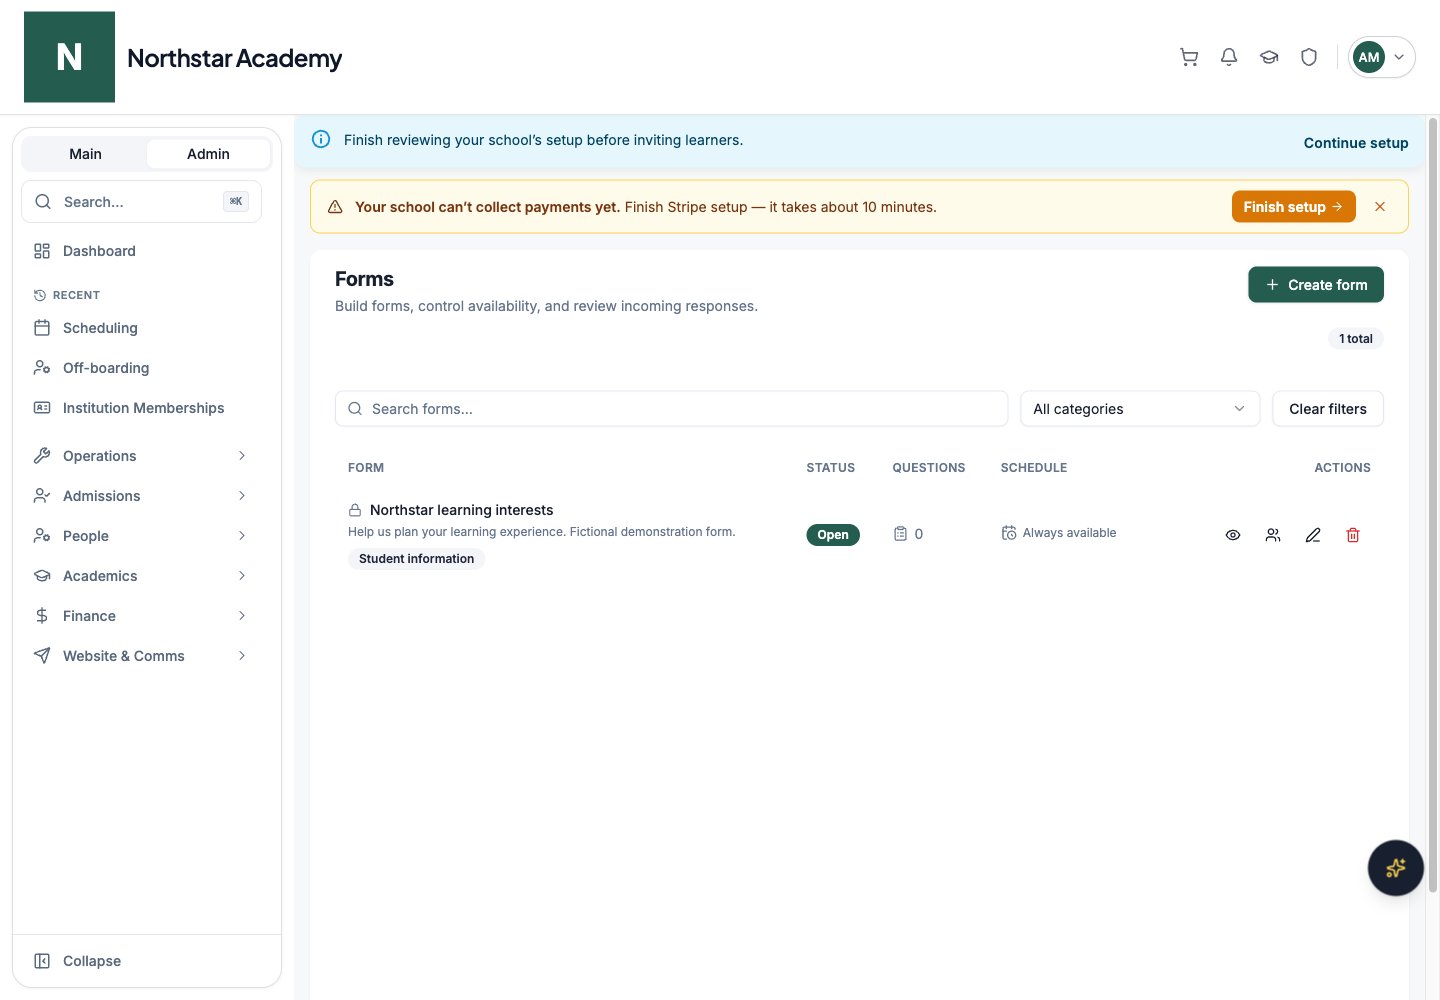
The Form Manager lists all of your school’s forms in a table. Search by name, filter by category, and use the action icons on each row:- View form — open the form as a respondent sees it.
- View submissions — review responses (see Review submissions).
- Edit form — reopen the form builder.
- Embed form — get embed code (public forms only).
- Delete form — remove the form and its submissions.
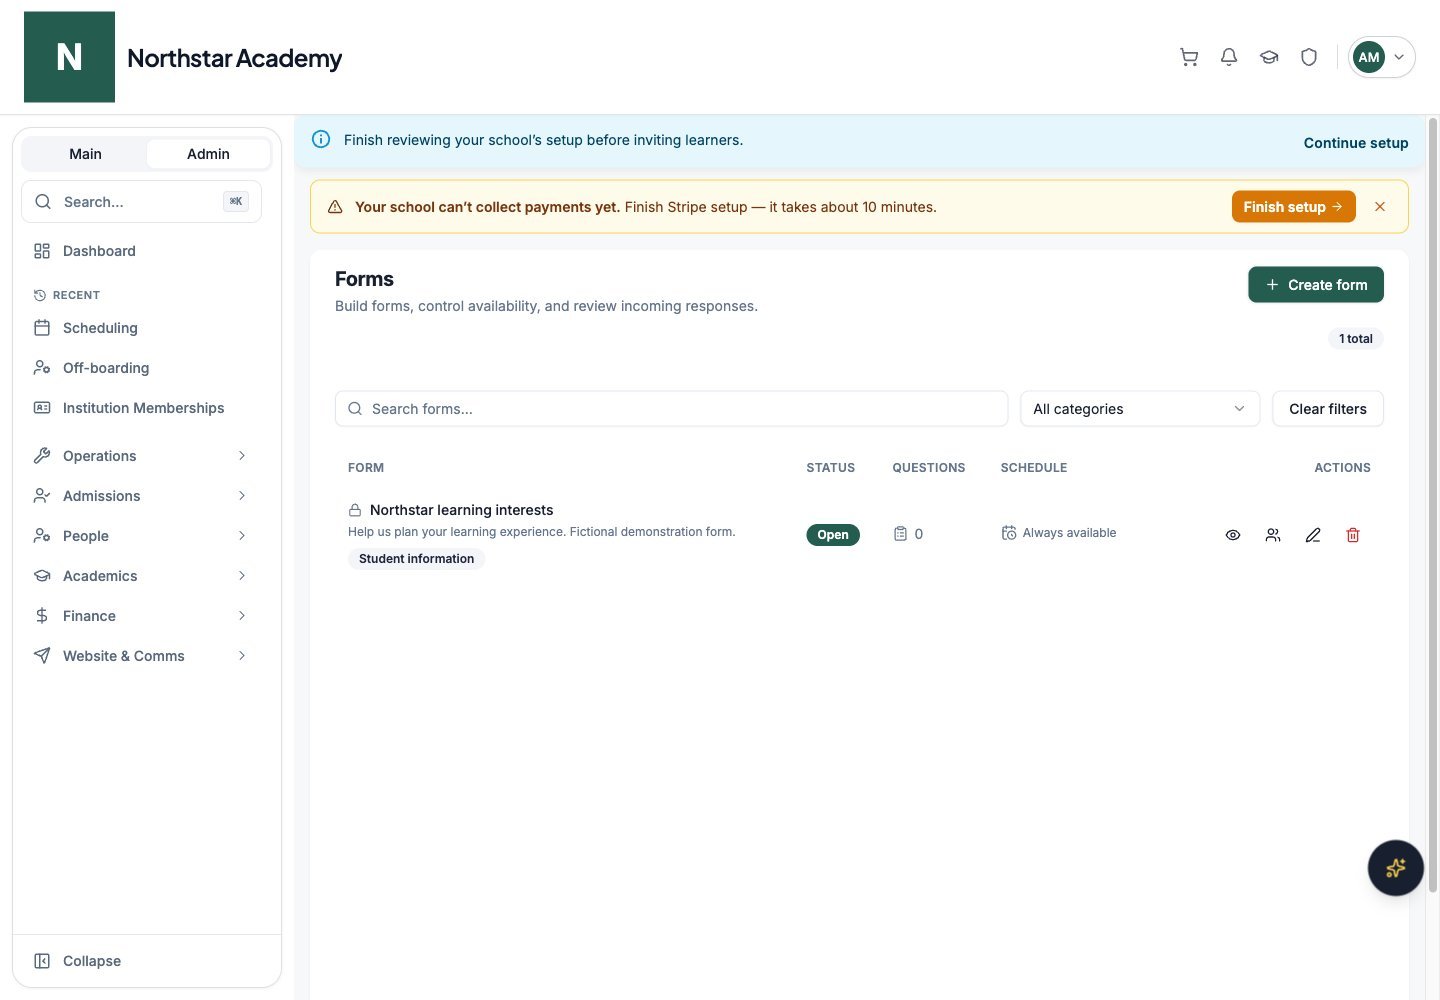
Northstar demo — Form Manager
Embed a public form
On a public form in Form Manager, click Embed form. Use Preview embed to check the result and Copy code to obtain the generated embed snippet for your website. The embedded view keeps respondents in a compact form experience. Being embedded does not bypass the form’s active status, schedule, or submission requirements.Create accounts and applications from a form
Admins can open Account creation in the form settings and enable Create an account after submission on a public form. Choose Roles for new accounts; Member access is included automatically. New visitors receive an activation email to choose a password. Existing users must sign in. For Applicant accounts in cycle-based admissions, select an Application cycle and Application track. Then decide whether to enable Manage the application with this form (recommended):- When enabled, successful submission sends the application into the admissions workflow. Automatically accept applicants approves it immediately; otherwise it enters Under Review and is assigned to the Admissions Head.
- When disabled, the application remains a draft and the applicant must complete the normal onboarding journey.
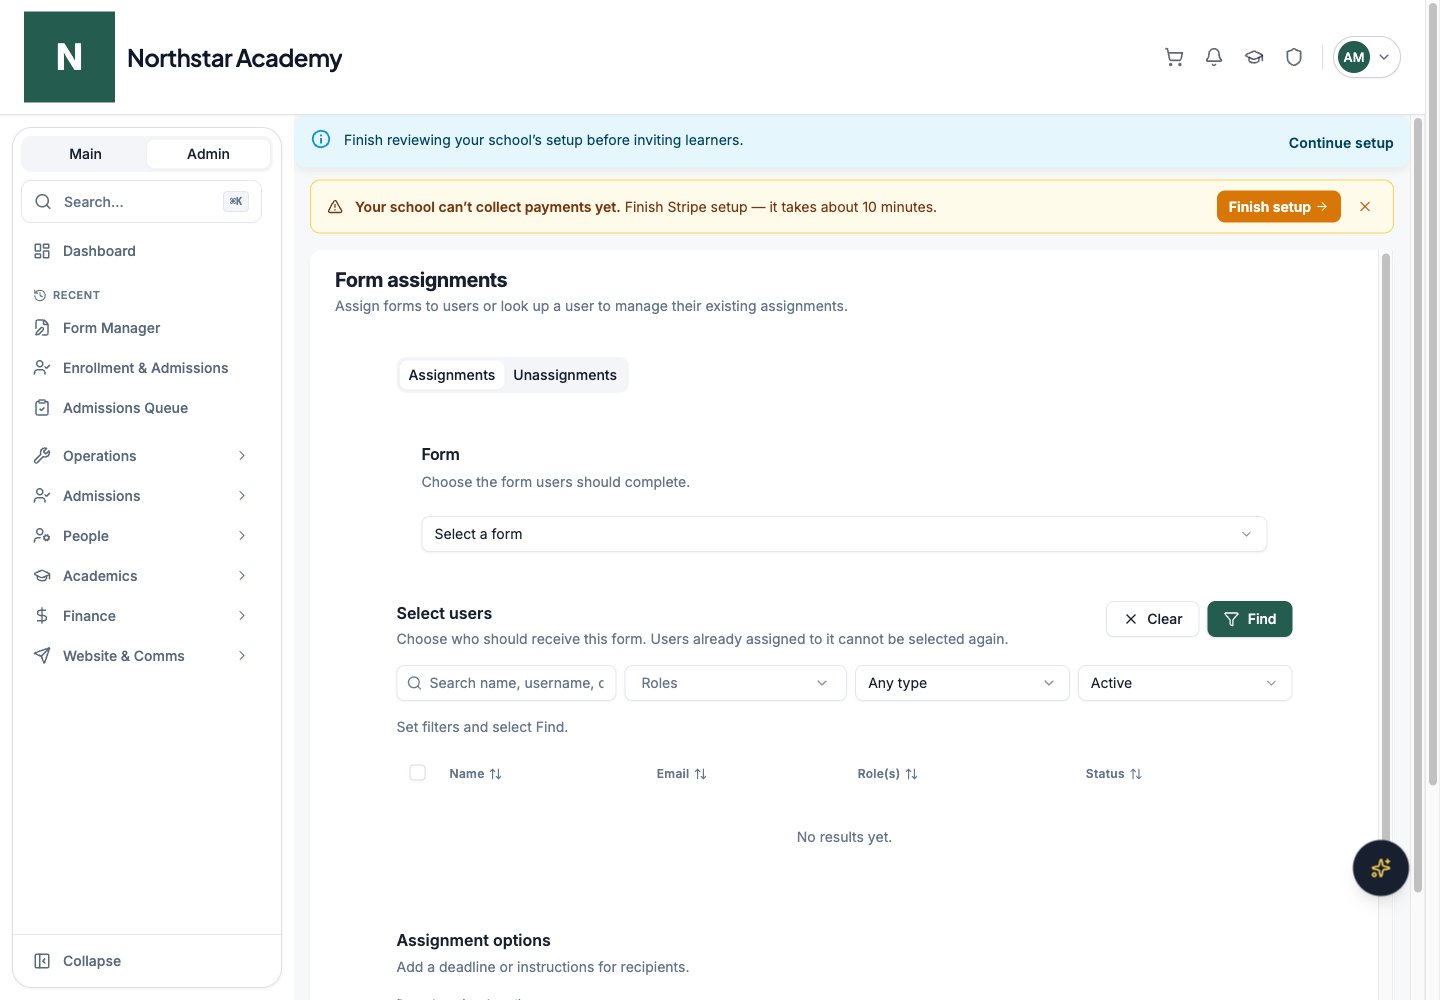
Assign forms to users
Beyond admissions, you can push a form directly to specific people — for example, an annual media release to all current parents, or a certification form to your staff.1
Open Form Assignment
Go to Admin Dashboard → Form Assignment (in the Admissions section) and stay on the Assignments tab.
2
Select the form
Under Form, open Select a form and choose the form to assign.
3
Select the users
Under Select users, search for people and select who should receive the form. Users who are Already assigned can’t be selected again, so you never double-assign.
4
Set assignment options
Under Assignment options, optionally set a Due date, add Notes, and check Send reminder notifications. Check Restrict access until completed if the recipient must complete the form before using the rest of the portal.
5
Assign
Click Assign form. Each user is notified and the form appears in their Assigned Forms list.
A restrictive assignment limits the recipient to Assigned Forms until all restrictive assignments are complete. The portal displays a restriction notice. A due date alone does not make an assignment restrictive.
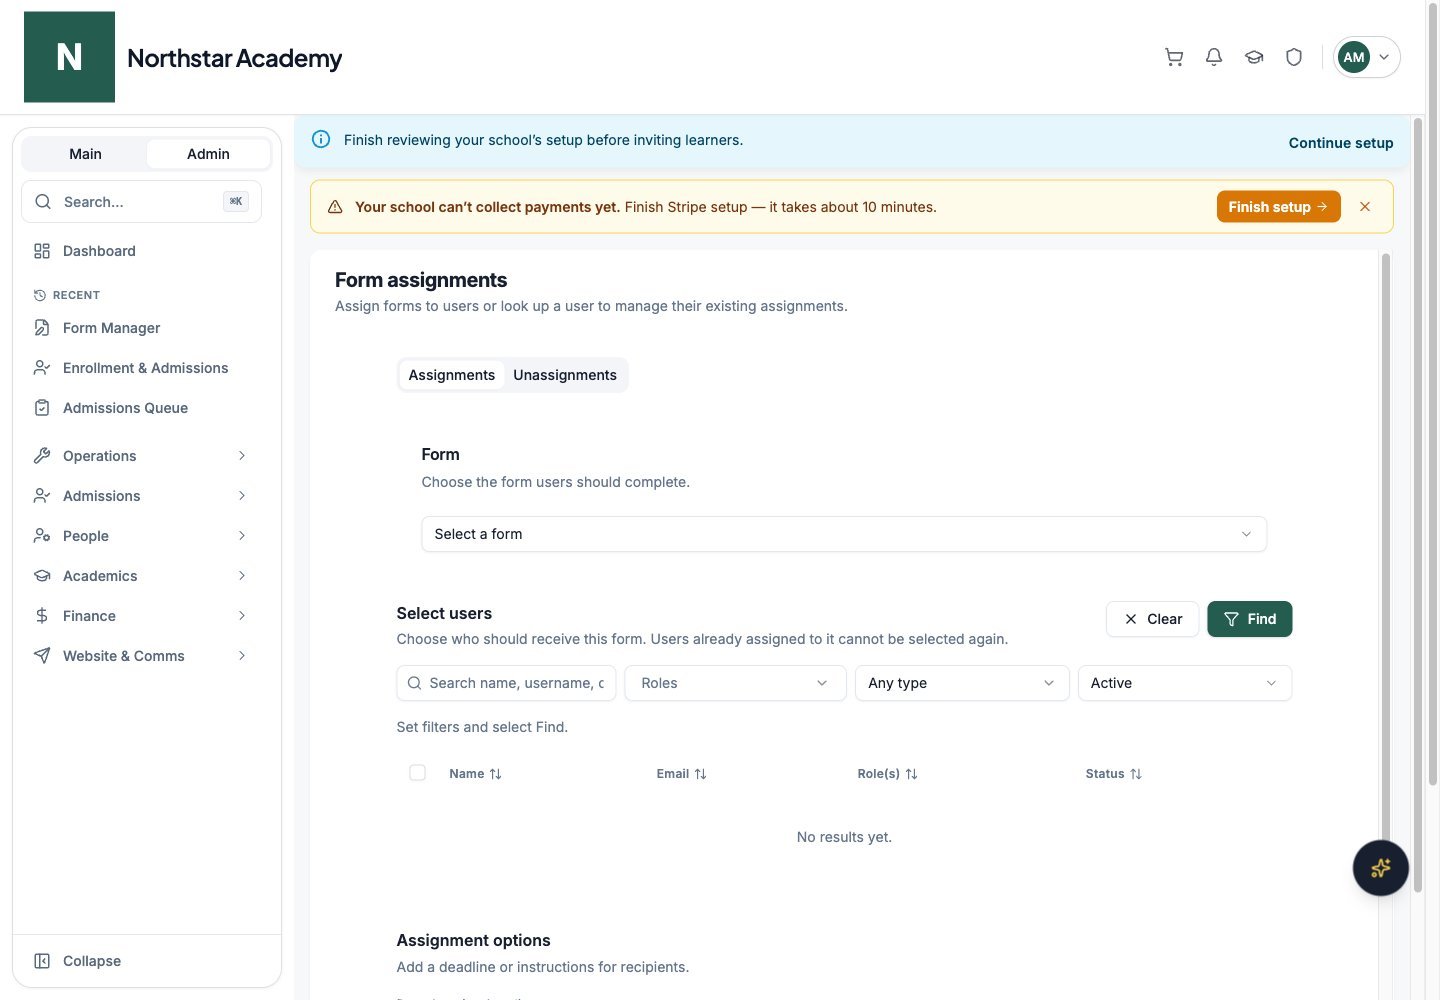
Northstar demo — Form Assignment — Assignments
How members complete assigned forms
Users find their assigned forms at Profile → Assigned Forms (/profile/assigned-forms). Each assignment shows its due date and a status:
Logged-in users can save a draft and return later — their in-progress answers are kept until they submit.
Review submissions
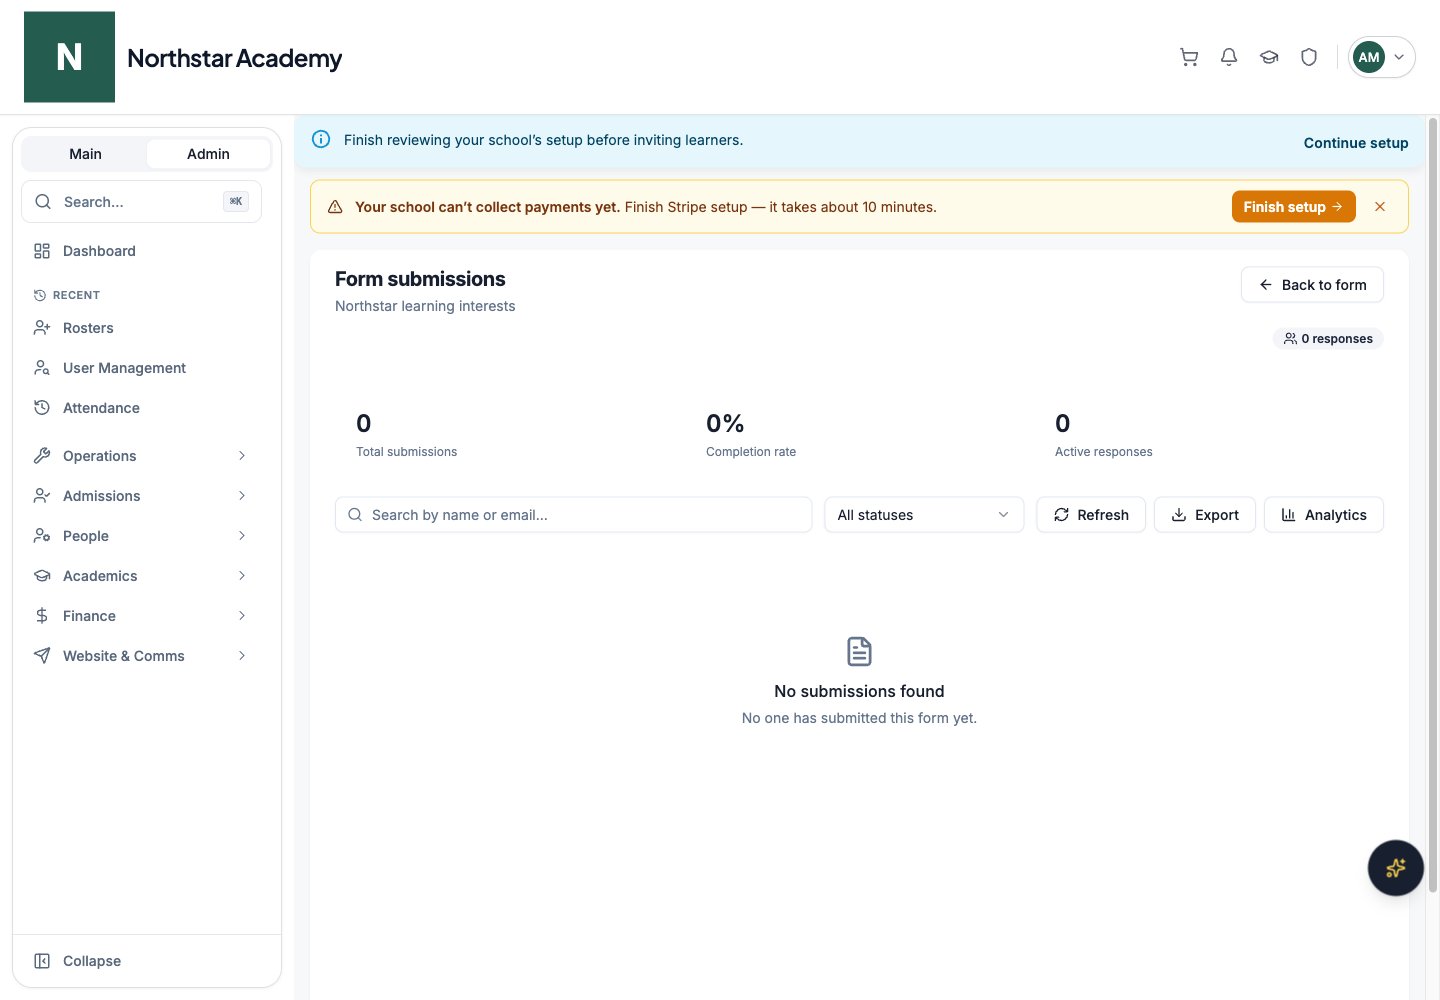
From the Form Manager, click View Submissions on a form to open its submissions page. At the top, summary cards show Total submissions, Completion rate, and Active responses. Below, the submissions list supports searching and filtering by status (Submitted, Draft, or Incomplete).- Click a submission to view every answer, including uploaded files.
- Use Export to download all submissions for the form, or Export submission from a single row’s actions menu to download just one.
Admissions form submissions also appear inside each application in the Admissions Queue, and are included in the queue’s Excel export. See Admissions.
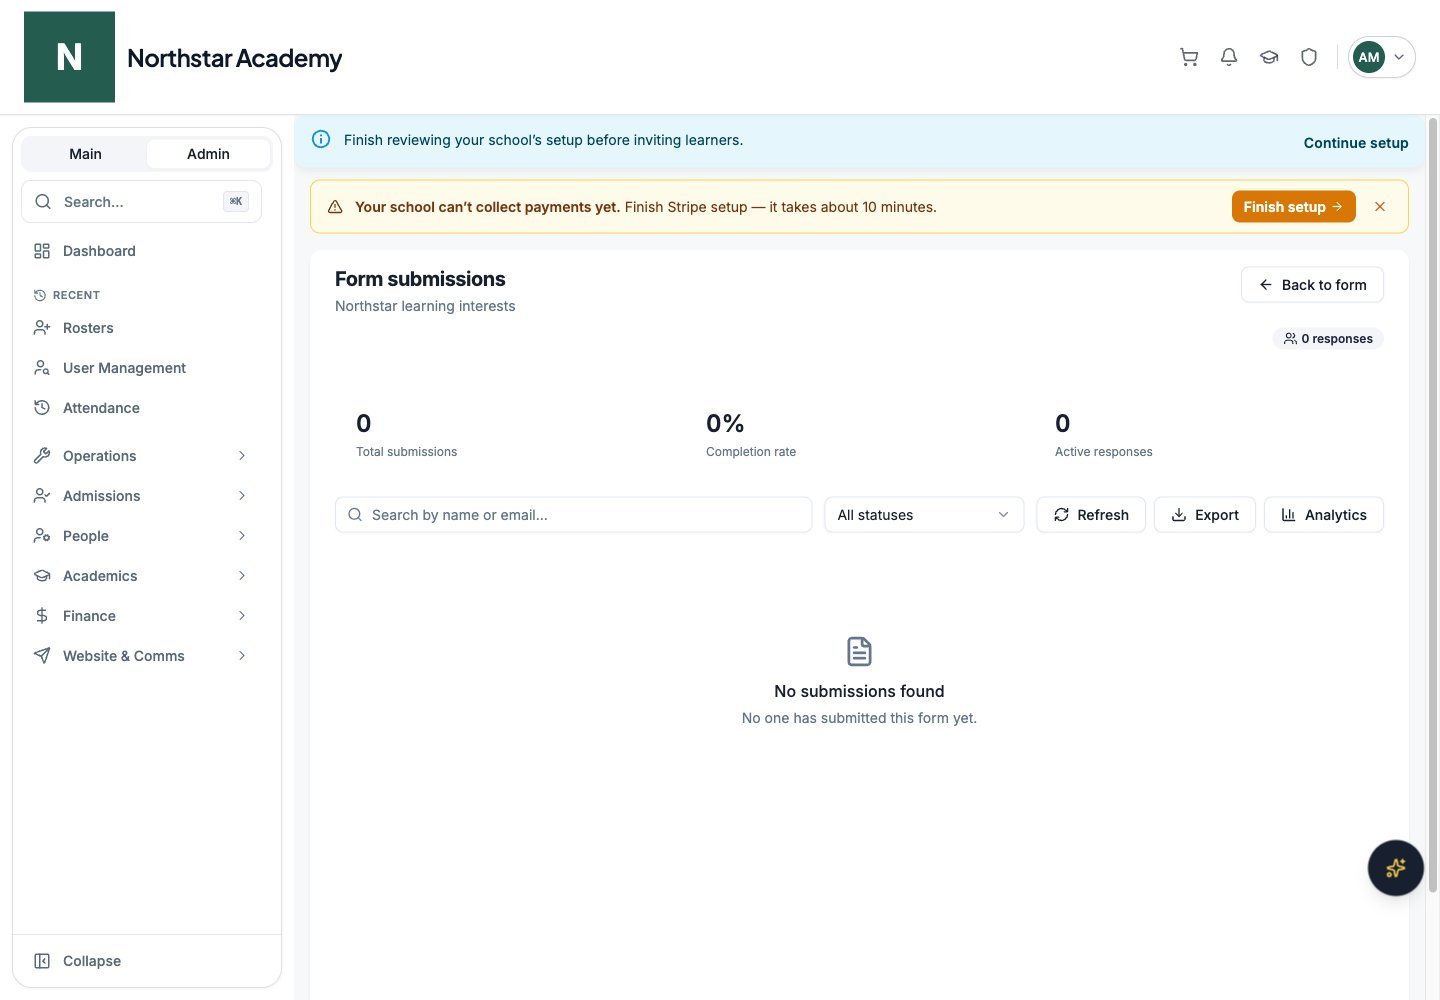
Northstar demo — Form submissions
Next steps
Admissions
Attach forms to your application process in the Onboarding Policy Manager.
Profile forms
Customize the profile fields users complete on their accounts.
Assignment and submission workspaces
The Form Assignment page has two tabs:
Removing an assignment changes the User’s requirement. Review submitted responses separately in the form’s Submissions view; do not assume unassigning a form removes its saved responses.
From Form Manager, open a form’s editor to update its questions and settings, or open Submissions to search/filter responses and inspect a submission. Submission detail shows the submitted answers and available review controls. Use the form’s public/embed controls only when its access settings allow public responses.
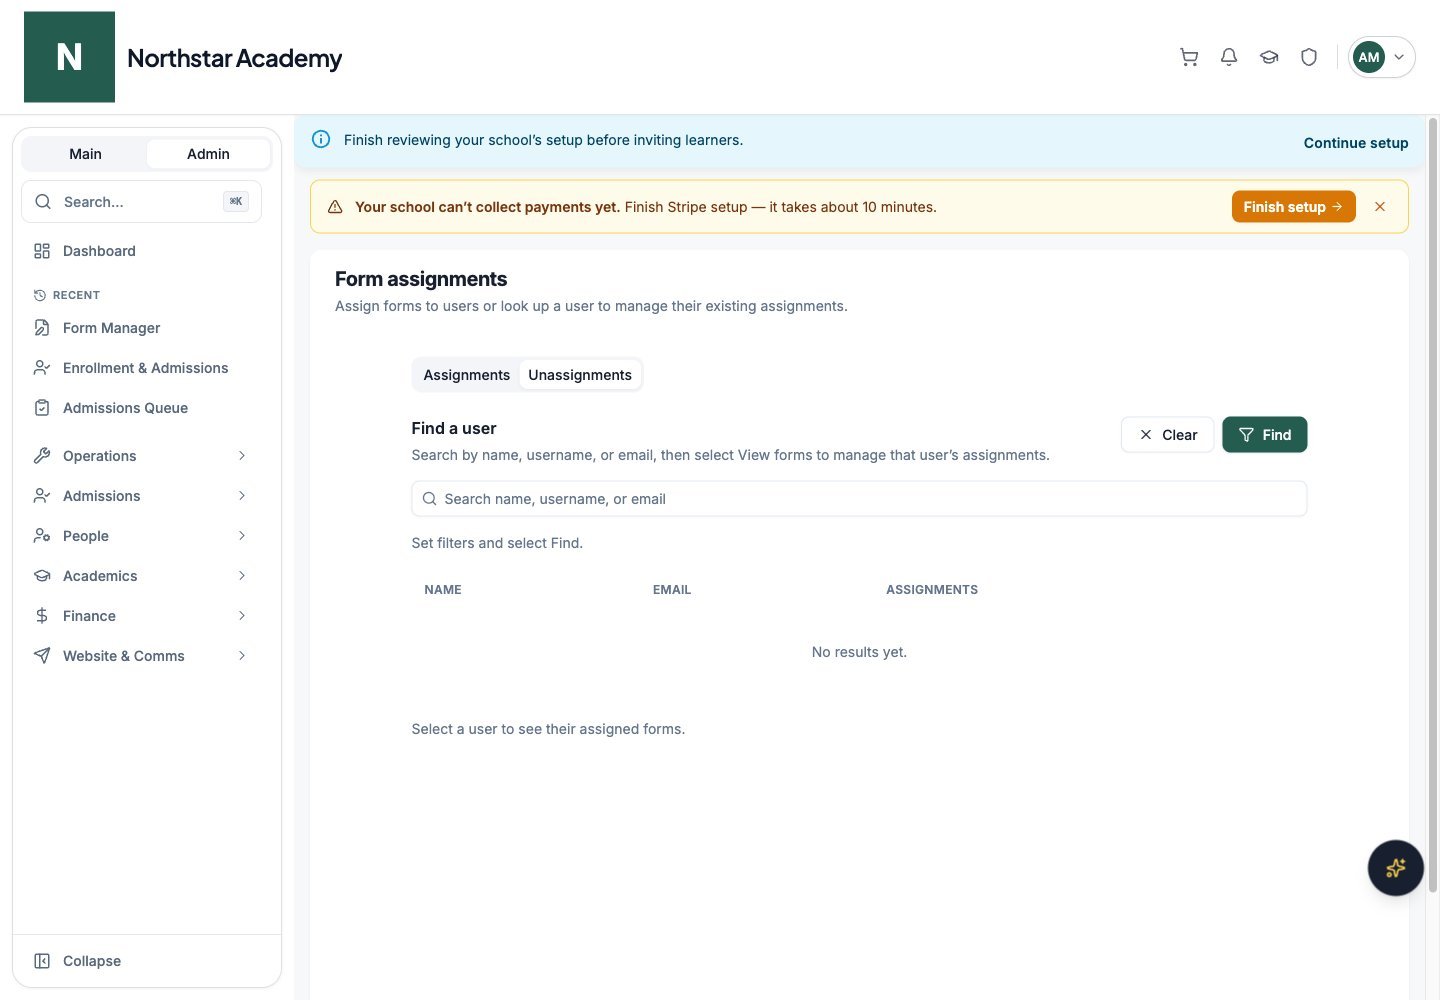
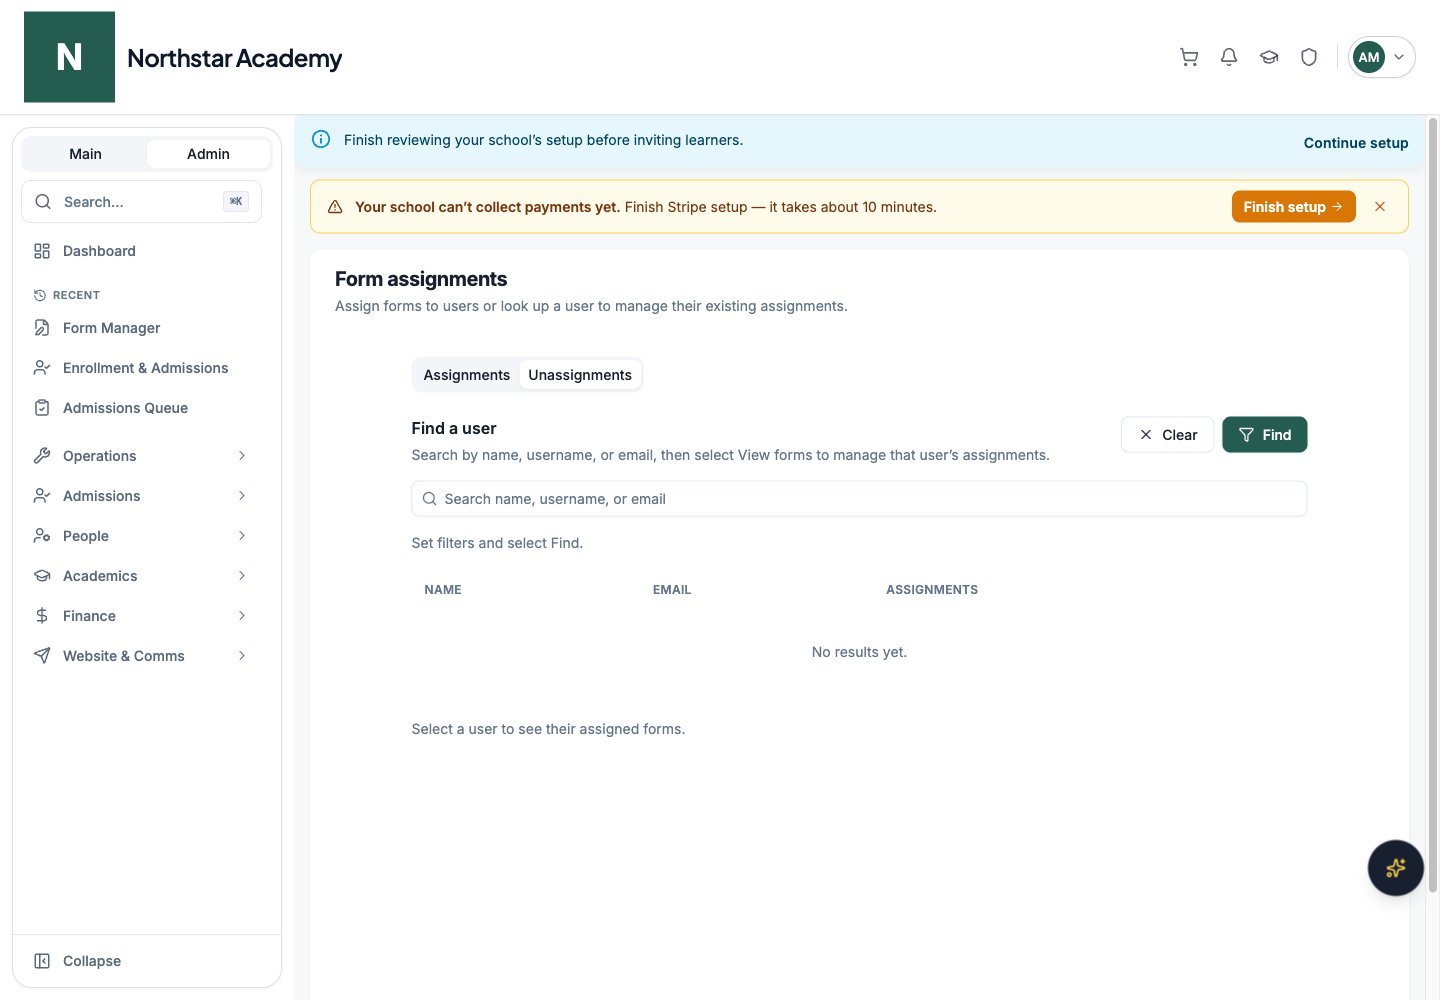
Northstar demo — Form Assignment — Unassignments